Everything You Need To Know To Start Raising Pigs
This blog post includes affiliate links
One of the main reasons we moved out of the city and bought land was because we wanted to raise animals to produce our own meat. Chickens were the first on the list, but after moving we decided that our next animal after that would be pigs. Here we are 2.5 years later and we have just gotten our first pigs. We waited so long because we wanted to make sure we had the capacity to take on this project, and the time is finally here. I am going to share everything we researched, questioned, bought, planned for, and did in order to finally have pigs as part of our homestead.
Choosing a Breed
We don’t have pastures or anything that could be turned into a pasture easily, because we live in the woods on a property that doesn’t have much cleared land. This is part of the reason why we’ve only done one round of meat chickens in our time on this land. So we thought a lot of animals were out of the question for a while. But then we started looking into pigs and found that there is a breed that thrives in woody areas.
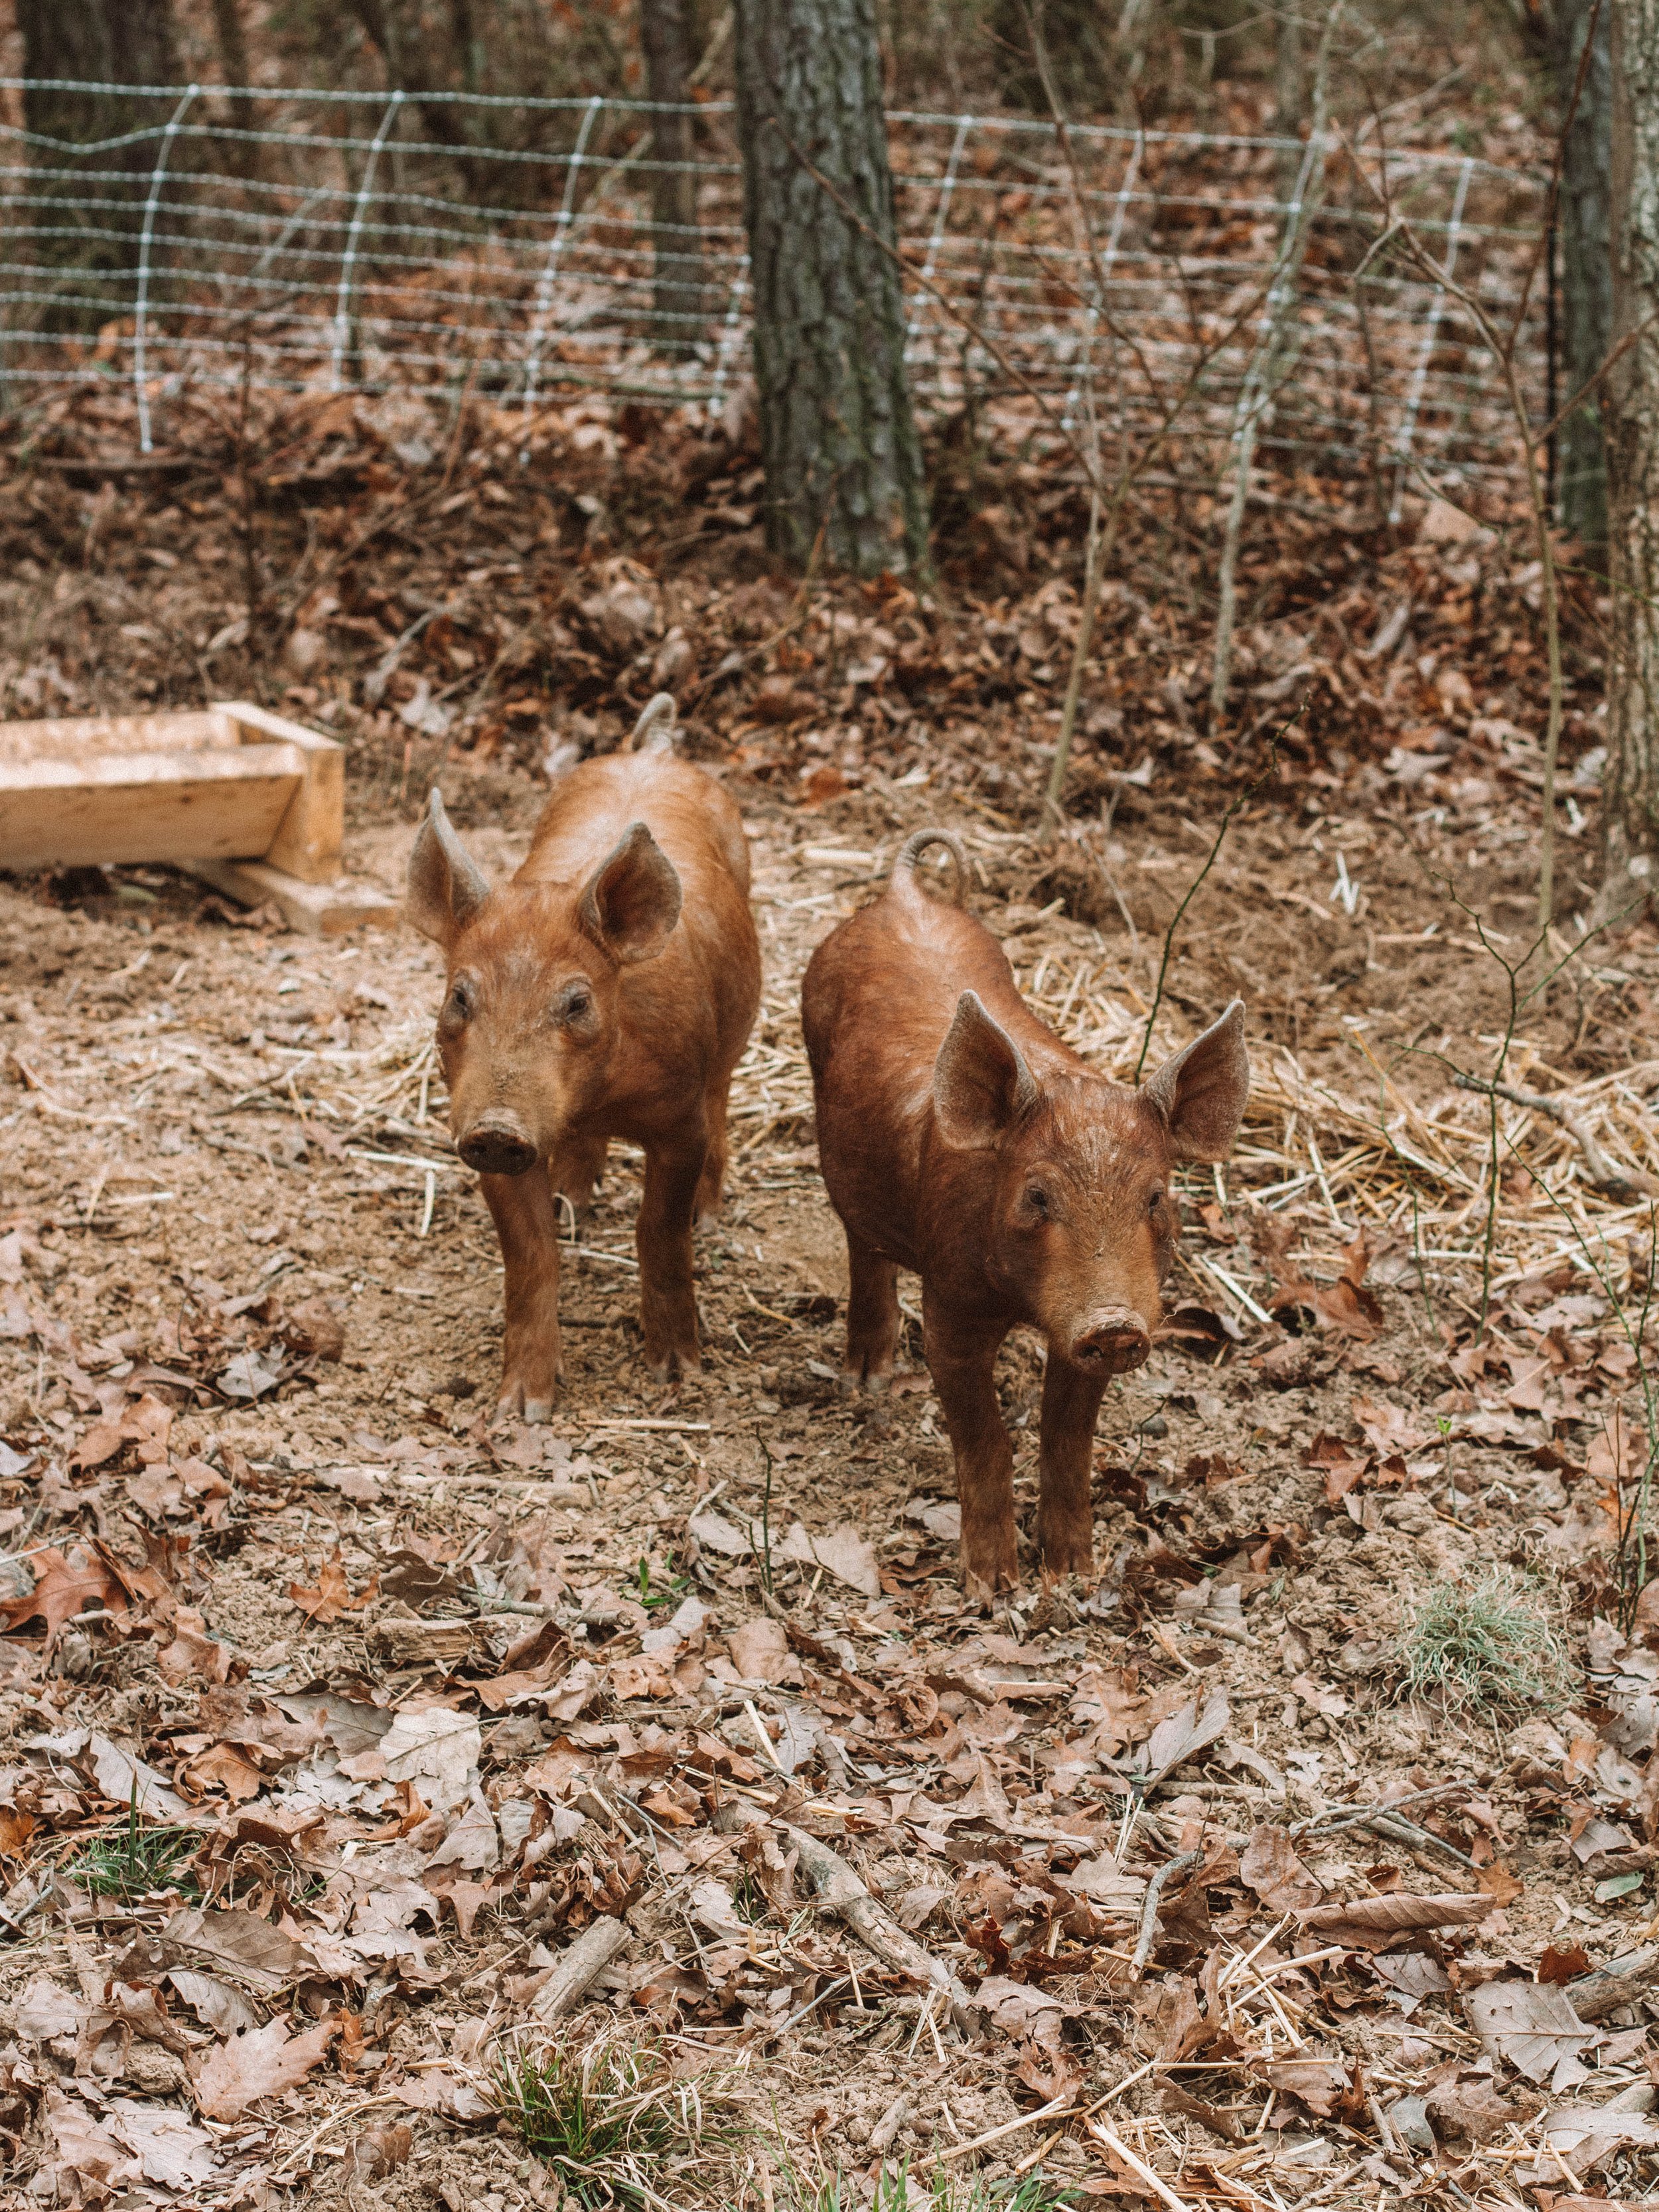
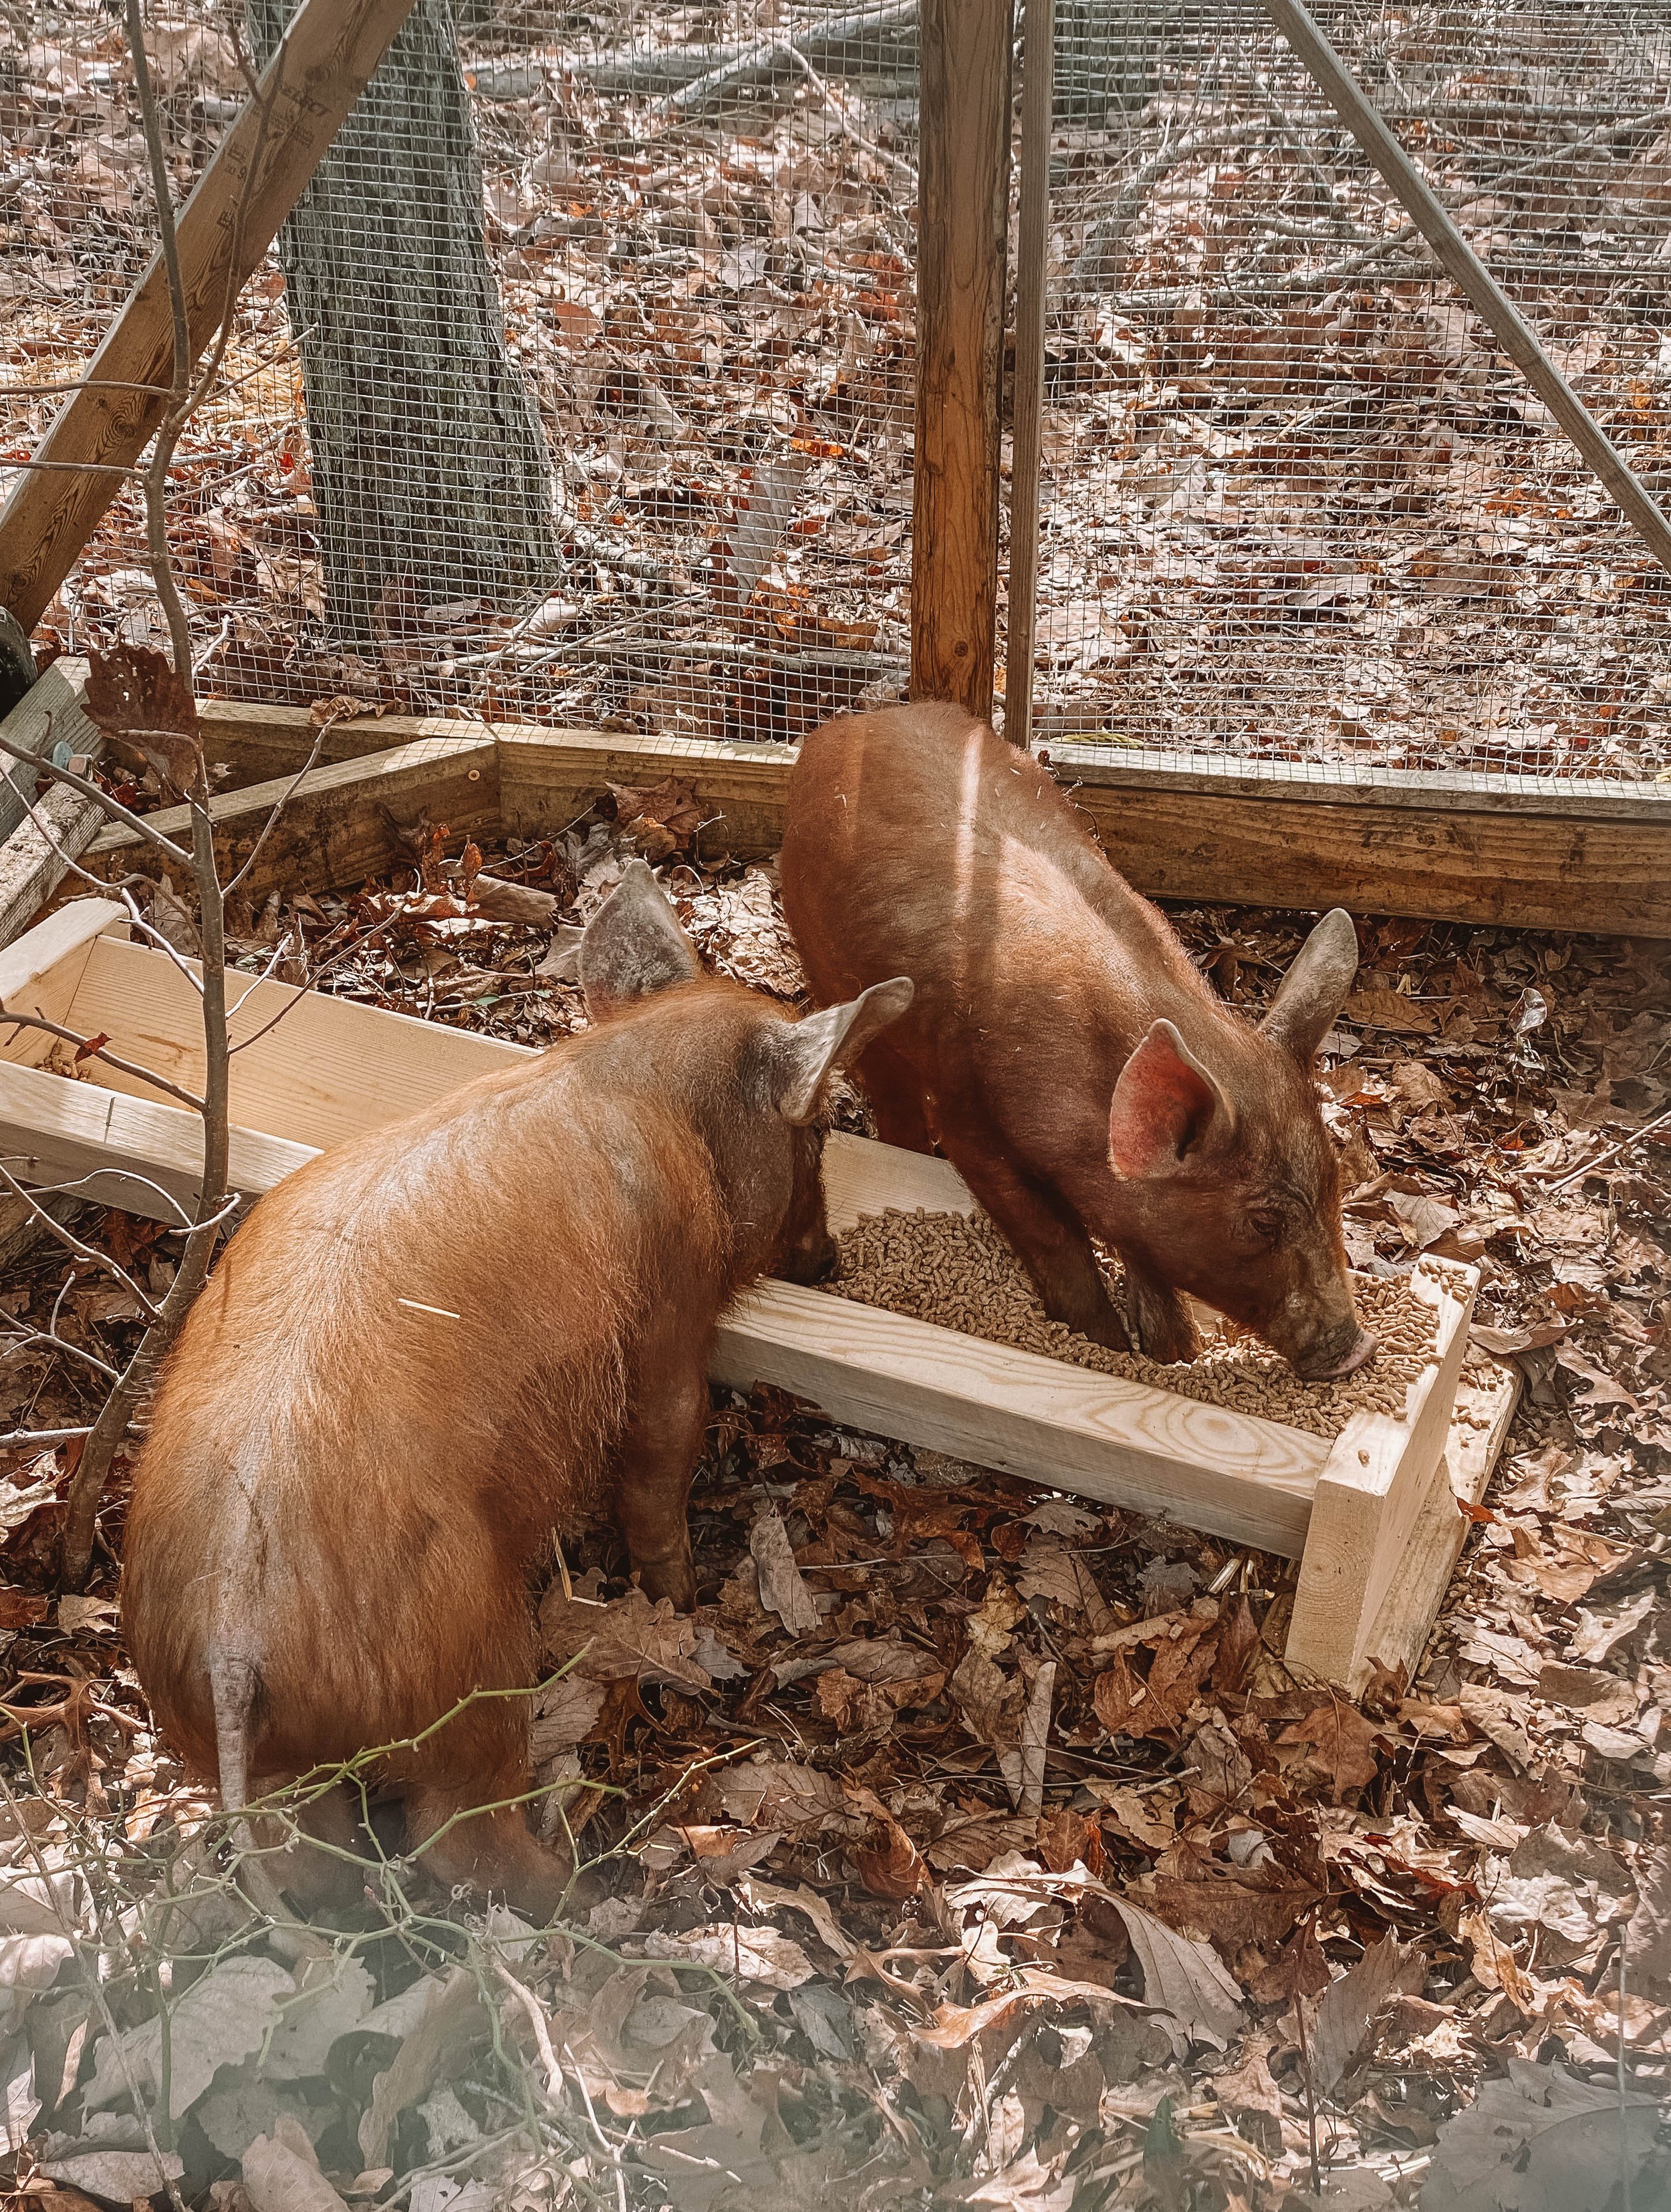
We chose the Tamworth pig because they love living in the woods, they are know for their bacon & meat flavor, and they are a docile breed. They have long snouts and love foraging. They root up the ground in between trees and eat things like acorns and moss. This can be really beneficial in situations in areas where woods are overgrown and have a lot of underbrush. When the pigs dig around with their snouts, they uproot all the under brush. In essence they help clear your forest floor. This is a huge benefit to us because this makes the pigs dual purpose. Not only will we get to enjoy their delicious meat, but while we they are with us, they can solve a big problem we have.
A lot of homesteaders having Kune Kune or Idaho Pasture Pigs. The Kune Kune is often chosen for their smaller size and the IPP because they do well on pasture and don’t do much rooting up. Obviously, there are more reasons why people choose these breed and others, but the point is that there is a breed that is likely suited to your exact needs. It’s worth looking into many different breeds to see what will suit you and your land best. Don’t just get a breed because you saw someone else do it. Figure out what is going to work for you.
Finding A Breeder
This part can be interesting especially if you go with a less common breed, like the Tamworth. This breed may be more common in other parts of the country, but we ended up having to drive to a different state to get our pigs. Once I decided on a breed I found the Tamworth Pig Association which had a list of breeders from each state. I started emailing breeders nearby and was able to find one that way.
If you decide to go with a different breed, just do an internet search for breeders of that pig in your area. You may have to call around and send a few emails before you get a response as some information is likely out of date. That is something we ran into.

The Setup
Because we are raising our pigs in the woods, we decided to go with Premier One HogNet which is electric netting fence specific for pigs. Premier One was kind enough to send us their HogNet Starter Kit + an extra 100 ft roll. We will move the fencing as needed so the pigs can move around to different parts of the woods.
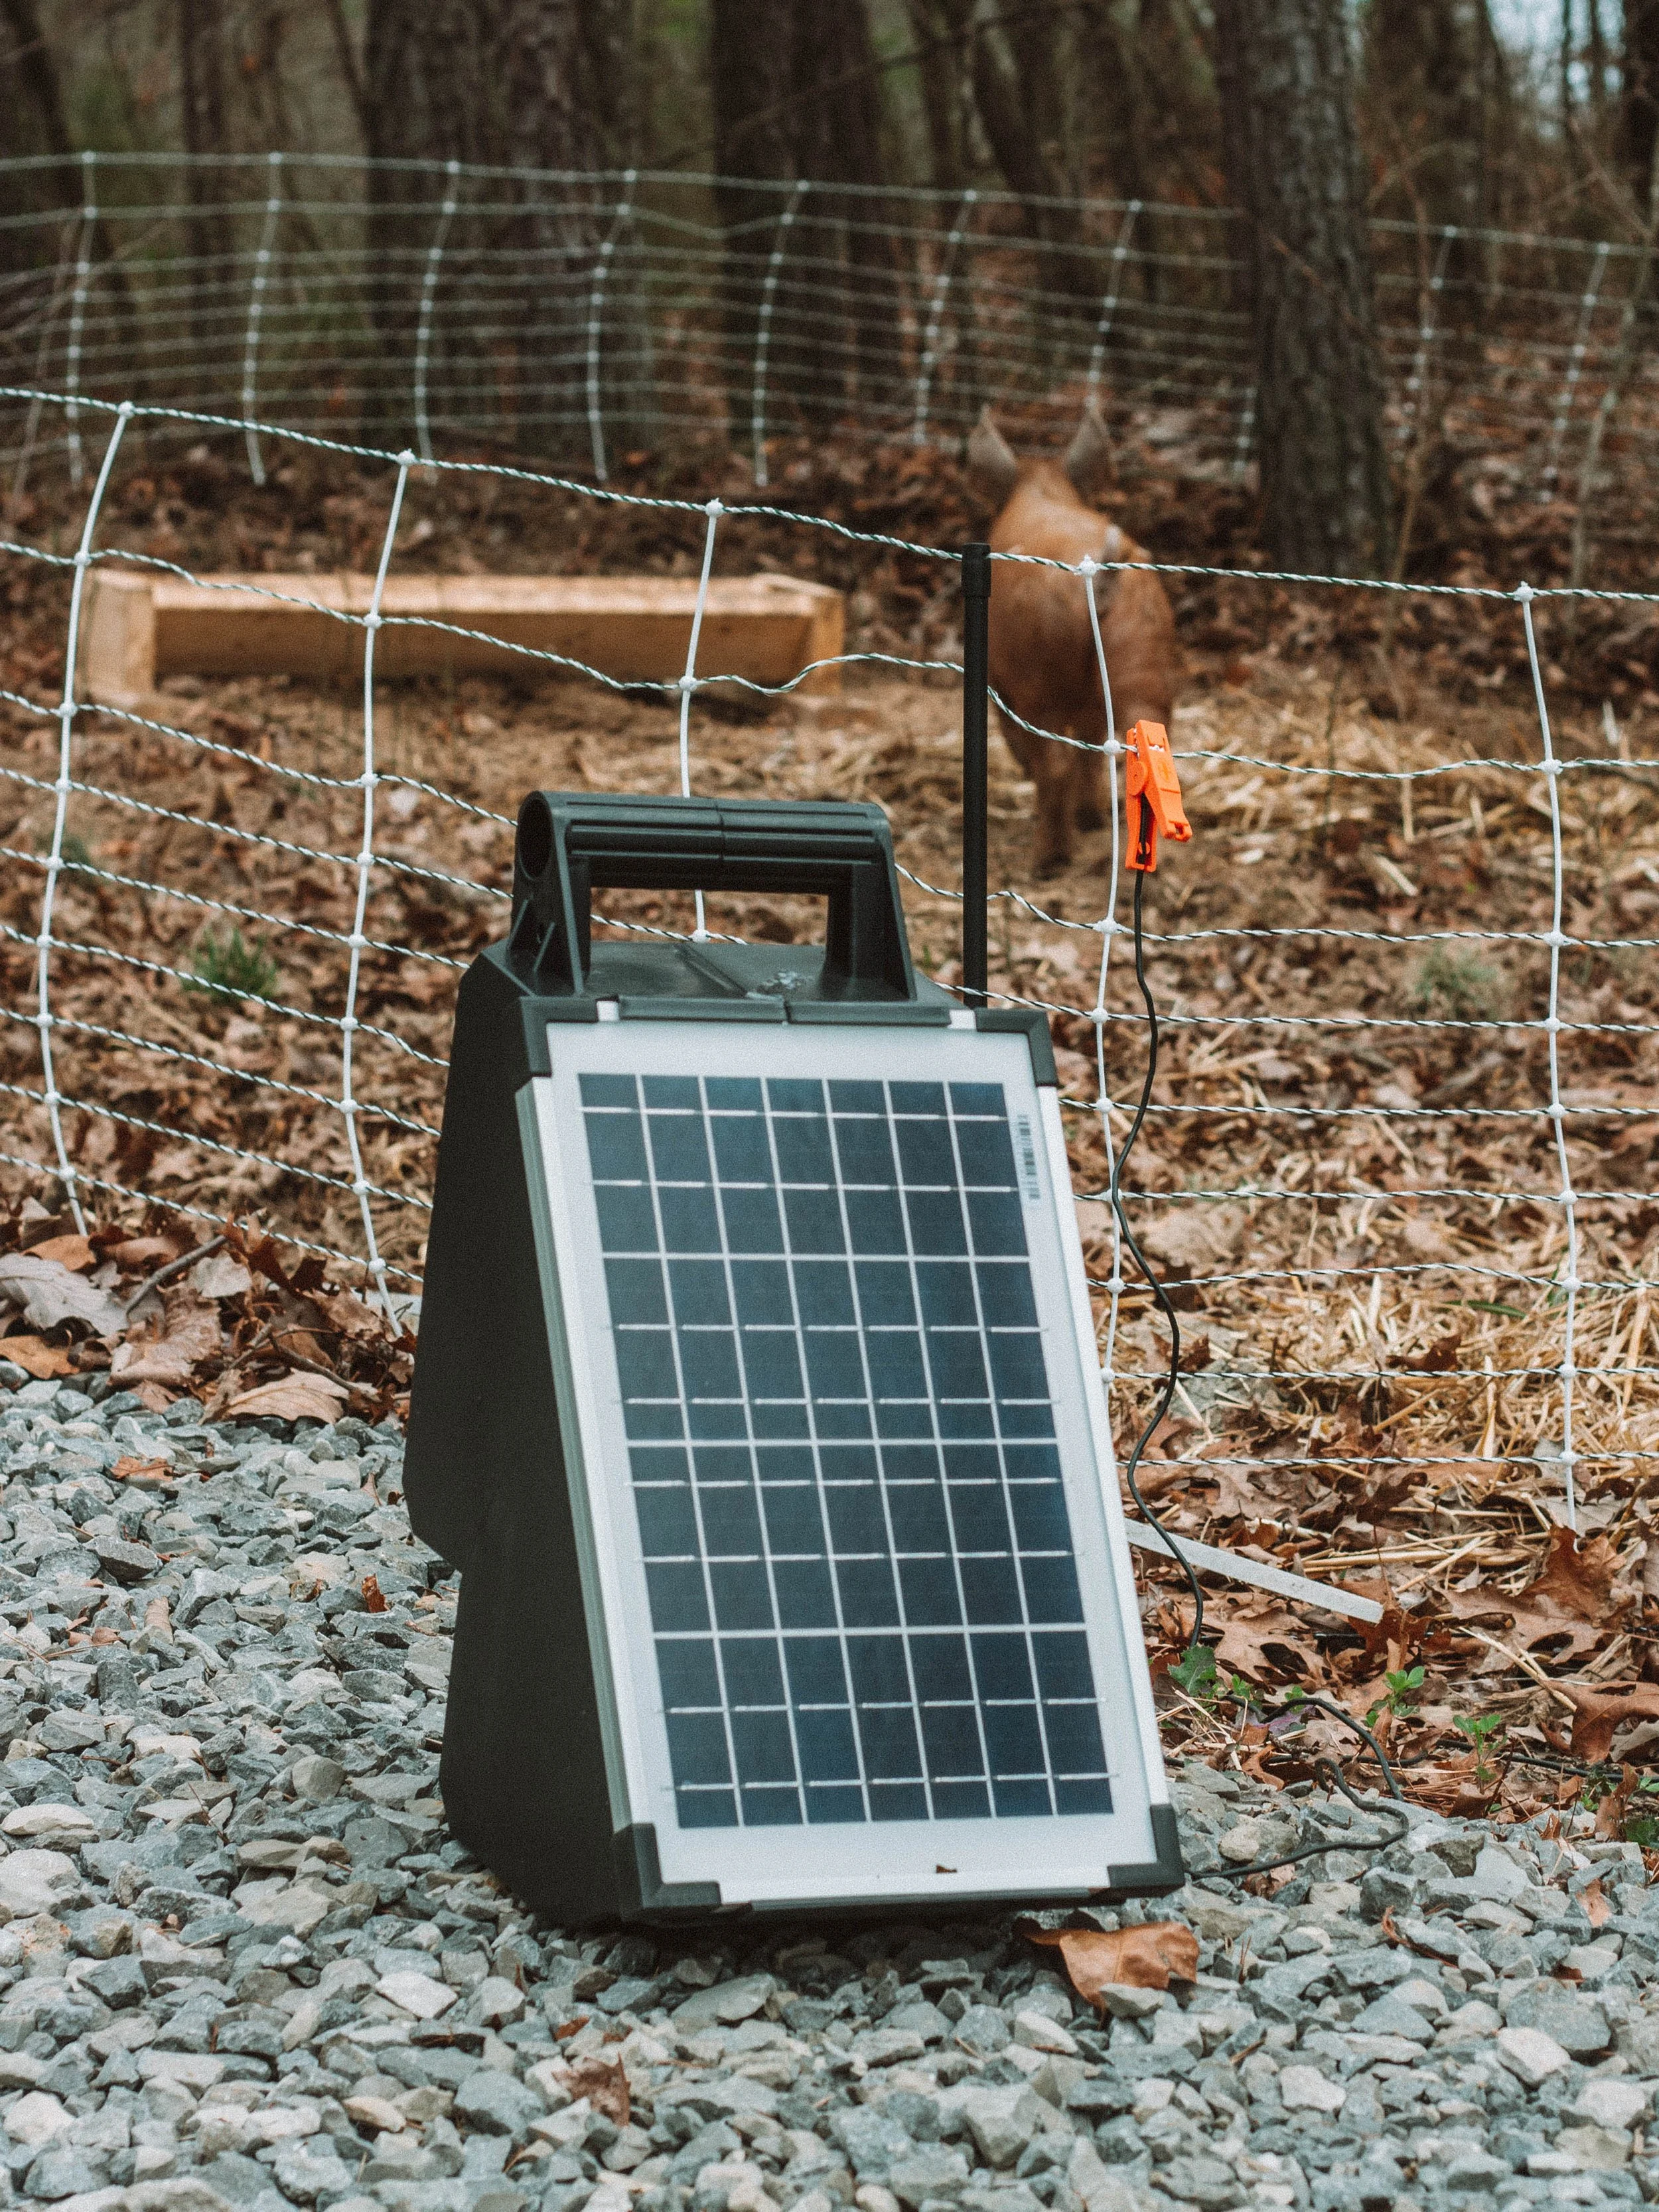
The setup we have came with a solar charged energizer to make the fence hot. The solar charged energizer is great for a lot of applications because not everyone has an electrical source where they want to keep their animals. The solar energizer is easy to use and move around, so it’s perfect for our set up.
We are starting out with one length of 100’ fencing to train the pigs on the fence and then we will set up a second 100’ fence that we will move the pigs into, along with their hut, water and food. So basically we have 2 fences, 1 that the pigs are in and one that the pigs will move into. Once they move into the 2nd fence, we will move the first fence to a new location for the pigs to move into once they’ve rooted up everything in the 2nd fence. When they are smaller we won't have to move the fences as much, but once they are larger we will have to move them more often.
Our plan is to buy 2 more 100' fence lengths so that when they are larger we can have them in a space twice the size, hopefully cutting down on how often we have to move the fence. But for now they are loving the area they have and it’s been about a week and we are getting ready to move them for the first time.
This fence would work great for pasture pigs as well. The more fence lengths you have, the bigger the space the pigs have and the less you have to move the fencing. You can connect multiple fence lengths as long as you don’t have really tall grass or a lot of debris touching the fence.
Setting up the fence for the first time in the woods was a little wild because we had to move tree limbs and we kept getting caught on all the thorny vines and blackberries and so did the fence. We realized after setting it up that we hadn’t put the entrance (or the place where the two ends meet) in a place that would lead into the second area so we had to reinstall it. There definitely were some frustrating parts, but it all had to do with what was on our forest floor and learning how to set the fence up for the first time. We will report back after moving the fence for a few months on how it’s going in the woods.

Picking Up The Pigs
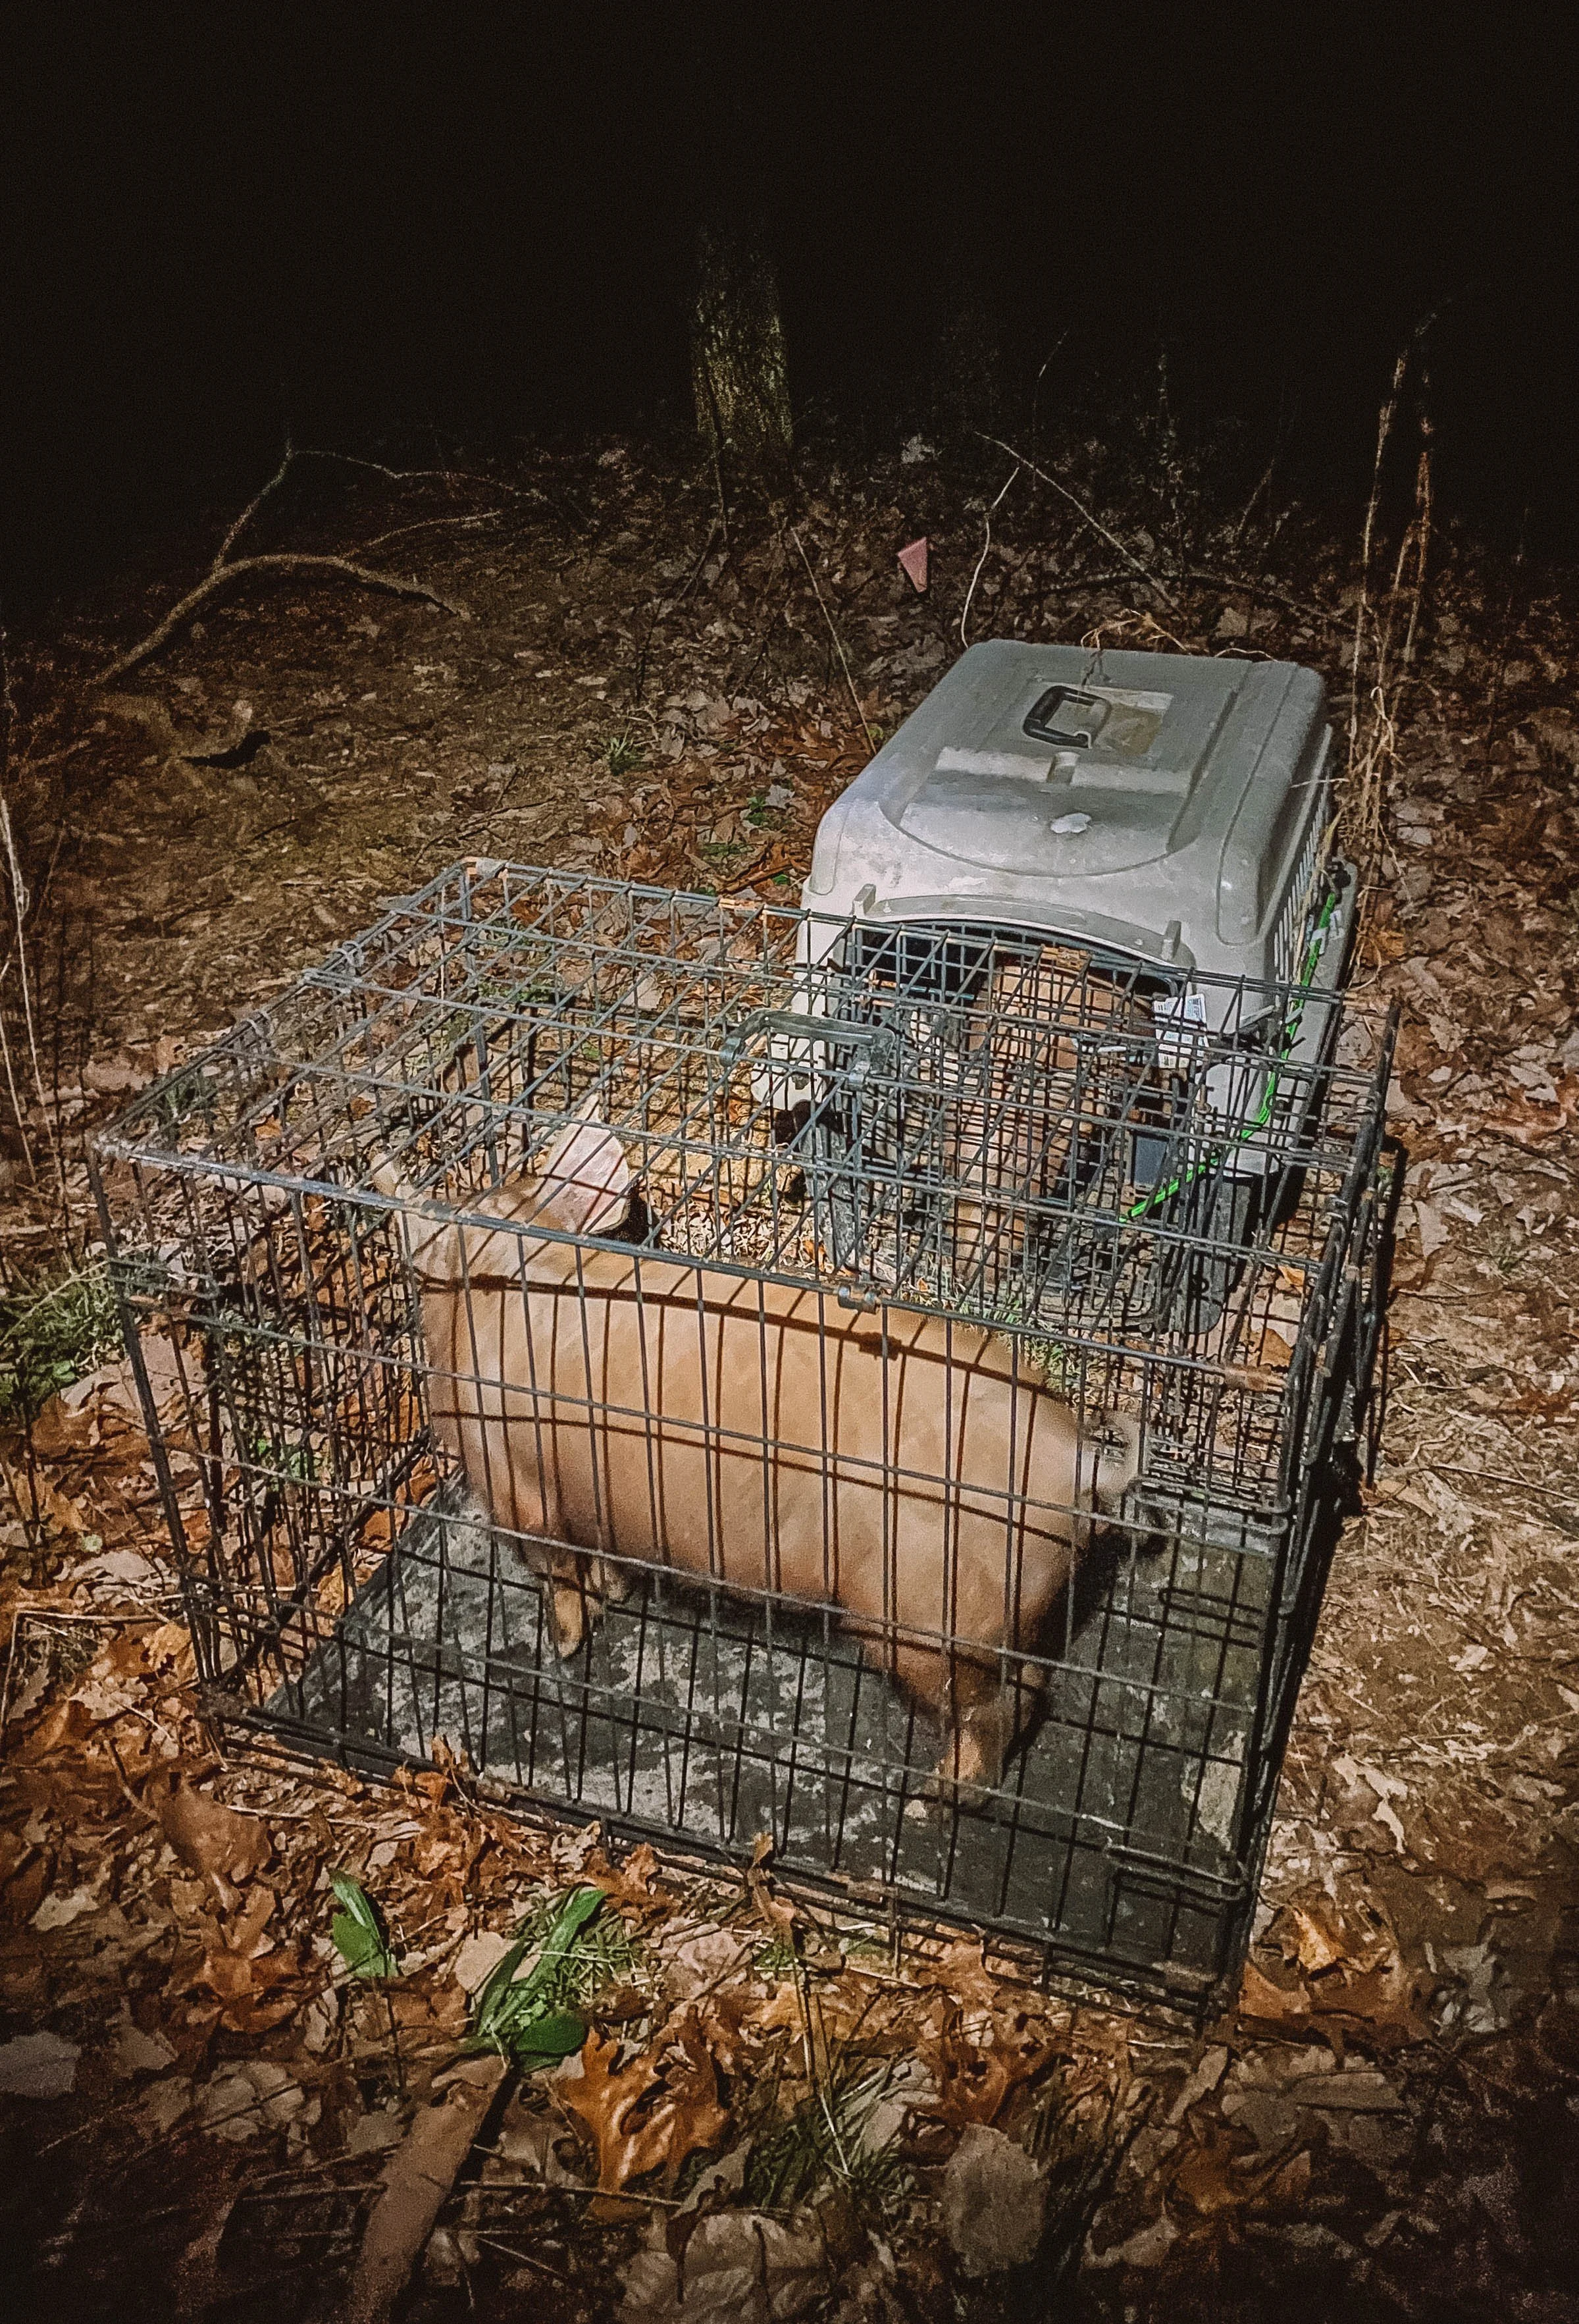
We picked up our pigs when they were 8 weeks old. At this point they were already 30-40 lbs. We had no idea how big they would actually be as we have never had pigs before. We brought two large size dog kennels, so we could carry one pig in each kennel. We have a big cargo- turned-camper van that fit the kennels perfectly, so we were able to carry them inside the van with us. Turns out they were much smaller than we had imagined and the dog kennels were a great size. They probably could’ve fit in a medium dog kennel, but this way we could feed them and give them water inside the kennel and it was still roomy.
Since we had to drive 4.5 hours to pick up the pigs, they were also going to have to travel in a kennel for the 4.5 hours back to our land. We didn’t want to feed them a lot because we didn’t want them having to poop a lot in their kennels, but we did give them a snack of 2 boiled eggs each. We gave them a small bit of water and they seemed happy with that treat. Otherwise they mostly just slept in their crates. They have a natural smell that isn’t that great and one of them pooped on the ride home. We were able to close off our doors to the back of the van and that helped, but you still could smell them a little bit. It’s just part of getting pigs, but something to keep in mind if you will be traveling with them in the car with you.
Looking back, I probably would’ve filled the crates with a bunch of straw for them to lay on from the start. We ended up stuffing straw through the doors of the kennels later on so the pigs had something to sleep on, but it just would’ve been easier to receive them with straw already laid down. Seems like common sense now, but we were trying to get a lot of things together and it just didn’t cross our mind until later. Hindsight is 20/20 as they say.
Bringing The Pigs Home
When we returned home with the pigs on the first night, it was already dark out. We decided to keep the pigs in their crates overnight. This is when we put straw in the crates with the pigs. We also covered their kennels together under a tarp. It was a pretty windy night and still March, so we didn’t want them to be freezing.
We had talked with the breeder and he recommended we leave the pigs in an enclosed space for 2-3 days so they knew our land as their new home. They were also not trained on the electric fence, so we didn’t want to let them out of the crate and have them run straight into the fence and experience that trauma. If we had a small barn or garage, that’s where we would have put them for the night. We knew we couldn’t keep them in those kennels for 2-3 days so we had to figure something else out. So the next day we decided to drag our chicken tractor up to their fenced in area so we could put them in there. This was perfect because it allowed us lock them in a more protected space than the electric netting fence but they had a good amount of room to run around in.
After 2 days in the chicken tractor (that was inside the electric fence) we were able to open the door and let them out. I’m not sure if all of our efforts worked out well or if the Tamworth pigs just are that docile, but they came out of the tractor calmly and we were able to move their food out into the middle area and they didn’t try to escape. Unfortunately, one of the pigs did get shocked when they were digging under the fence, but the other pig has never touched the fence. The same pig got shocked one more time later in the day and I think that is all it took for them to be less curious about what was beyond the fence.

Pigs are really great to use in electric fencing because they don’t test the boundaries like other animals. Some will still keep running to get away from the shock but pigs don’t usually do that. The Premier One fencing that we have is specifically is designed to keep animals out, even wild hogs, and keep the pigs in. We have all kinds of animals that live in our neck of the woods so it’s good to know our pigs are safe from them and won’t get out.
We have many months ahead of us raising the pigs and we plan to share everything with you that we learn along the way. Stay tuned for more pig raising information!