DIY Garden Tool Storage Solution

Because we are building everything on our land from the ground up, we have a lot of garden tools and we have no where to put them. I saw an open tool shed like this on a farm account that we follow but couldn’t find a tutorial for one like it anywhere. We figured we could make it happen so we just went for it and it’s really the perfect solution for our garden tools.
I will talk about everything we used in more details, but in general these are the supplies you need:
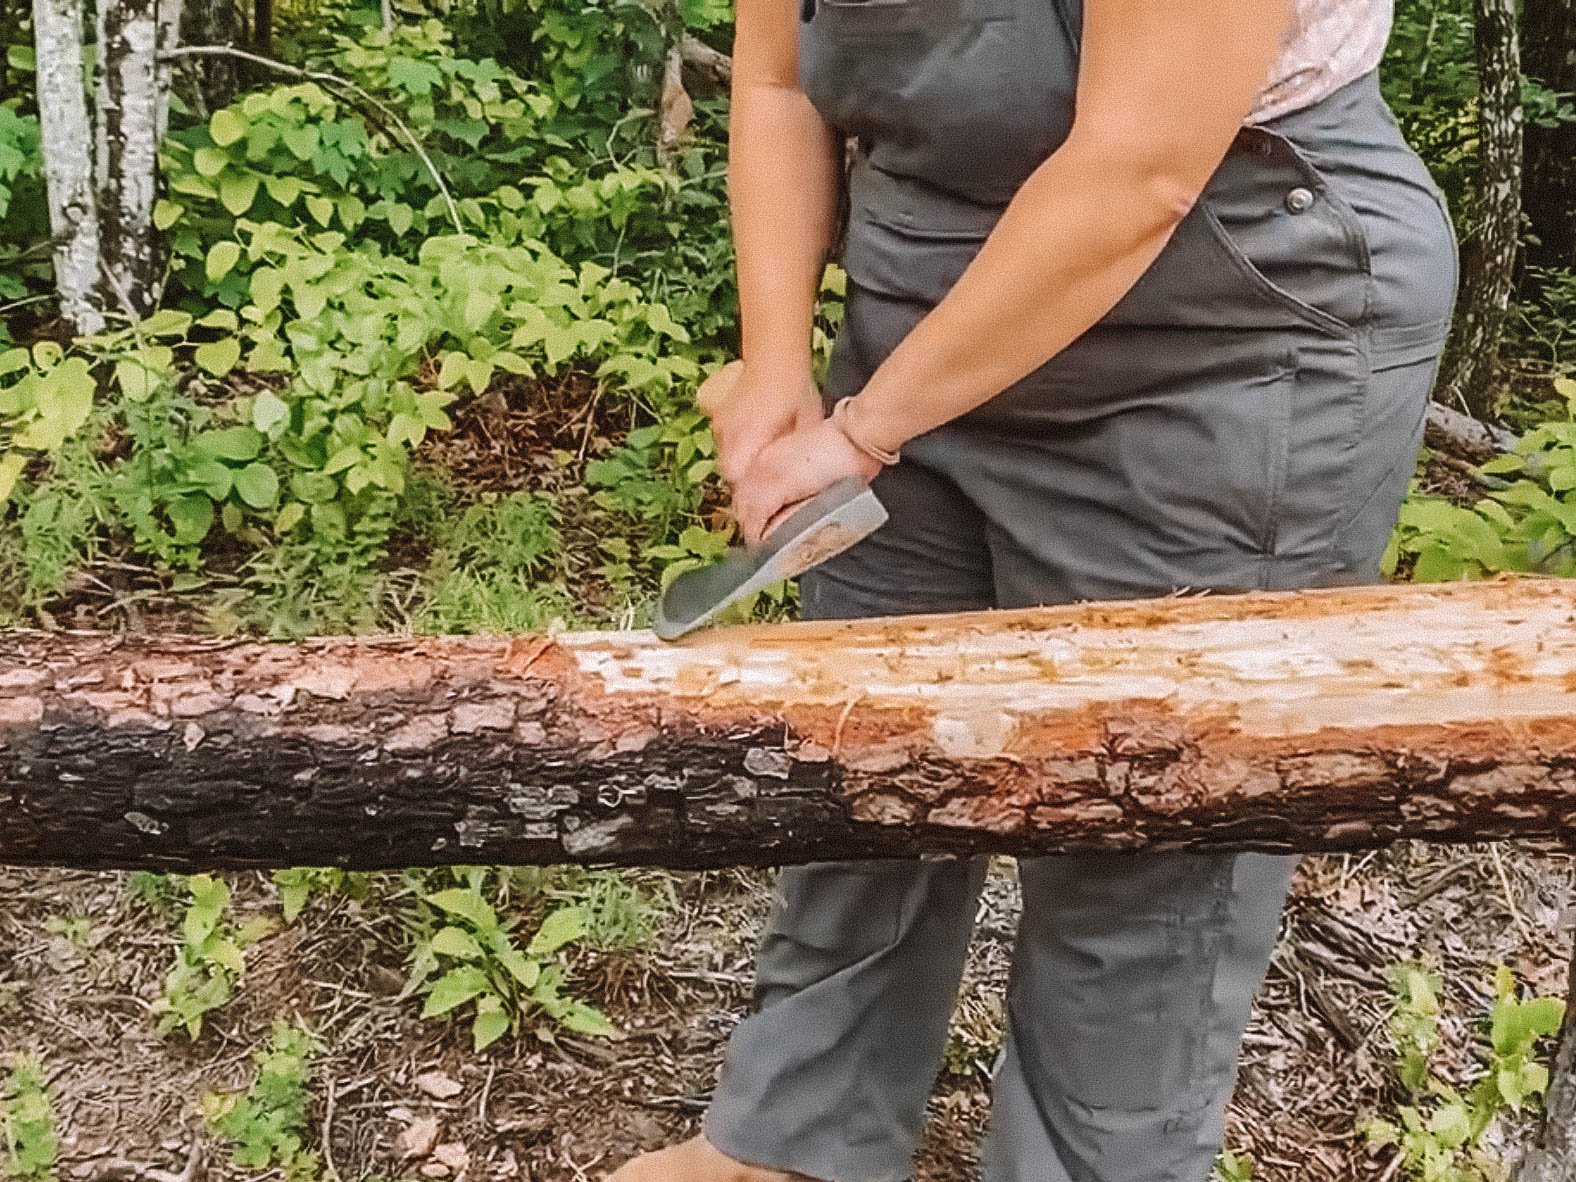
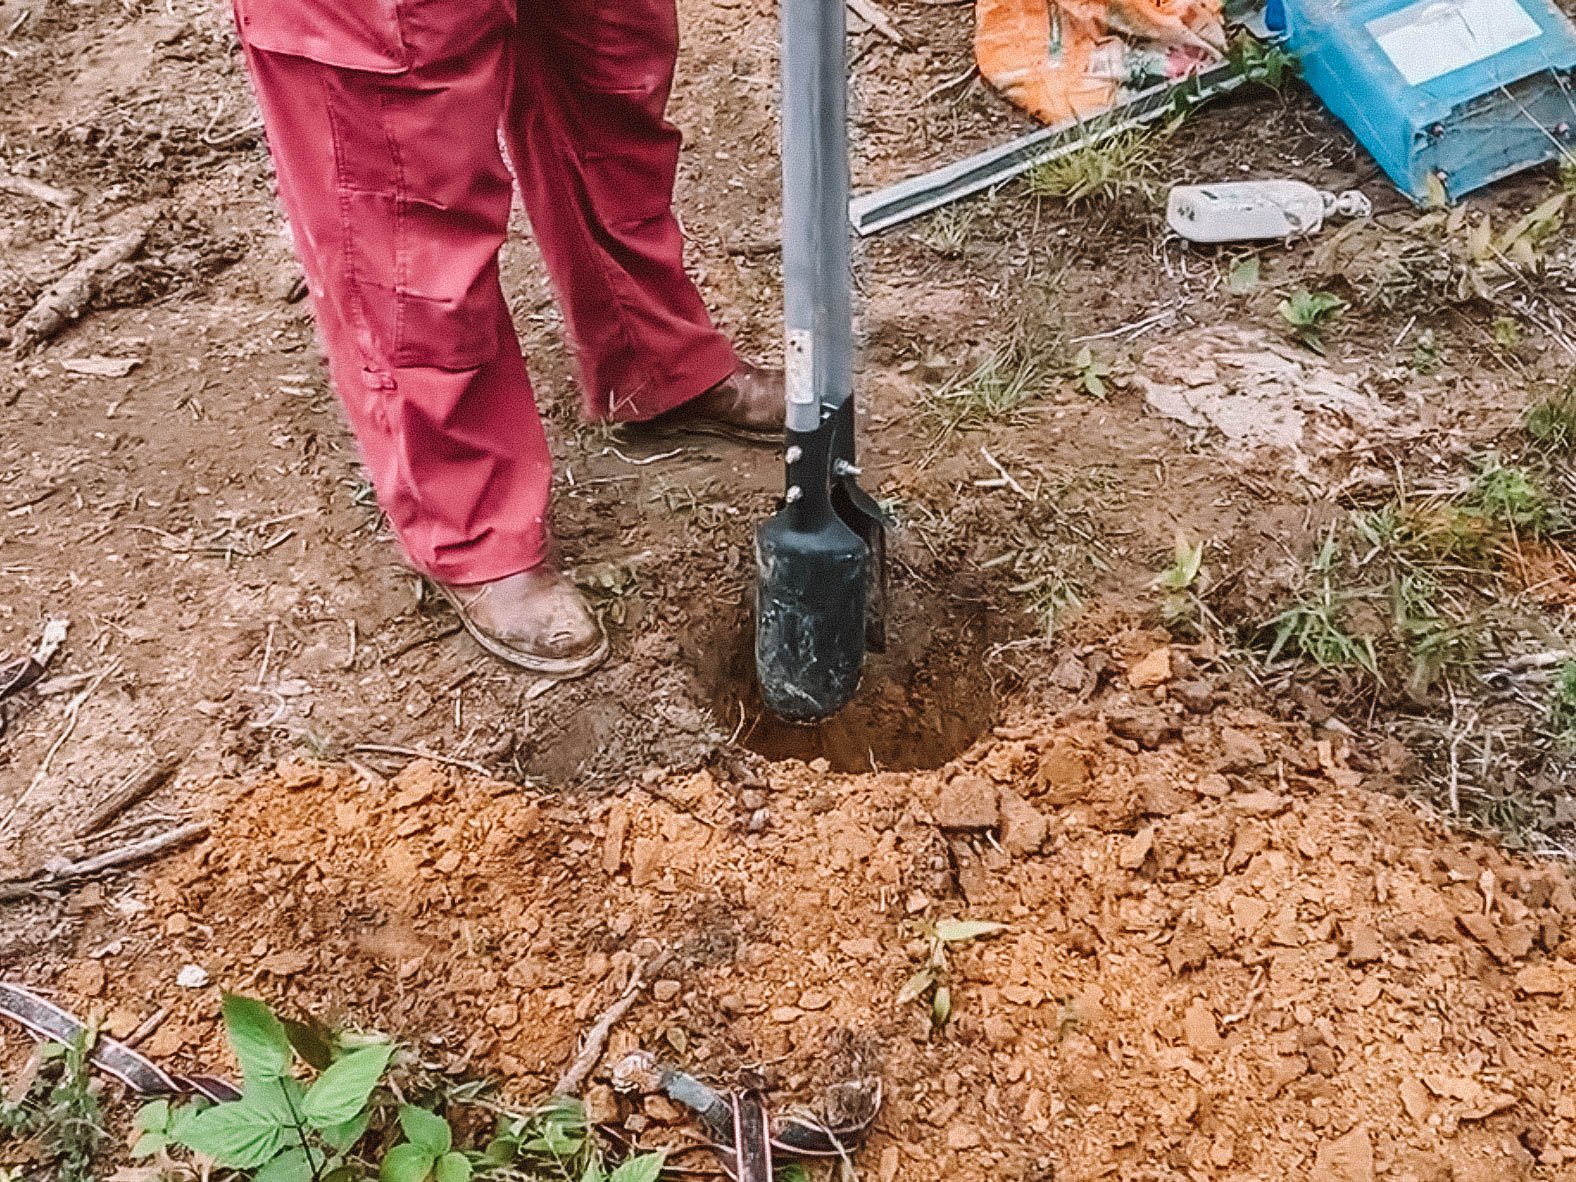
The whole garden awning is based on two wood poles in the ground. The first one we originally put in the ground when we first moved to the land. It is concreted in and originally held our internet when we didn’t have a home to put it in. The second pole is a just a tree that we took the bark off of. We dug a hole about 2 ft. deep and then compacted the dirt around the pole. It would be really simple to just have two of the same 6x6 poles but they can be pretty pricey. Since we have an abundance of wood on our property, this brought the cost of this awning down for us.


The beams across the top are two 2x6s. There is one attached to the front of each pole and one on the back of each pole. I ended up cutting some spacers to go in the middle section between the two beams. The spacers are 5.5” wide (the same width of the poles in the ground). This kept the beams acting more like one beam rather than one.
We secured the beams with 2x4 wood placed on a diagonal with the ends cut to 45 degrees. This squares everything and helps with side to side movement. If you do a lot of building, even on a small scale. I highly recommend this framing nail gun. It’s battery operated and makes quick work of building projects. This project only ended up taking us a day and I think it has a lot to do with how quickly we framed everything.

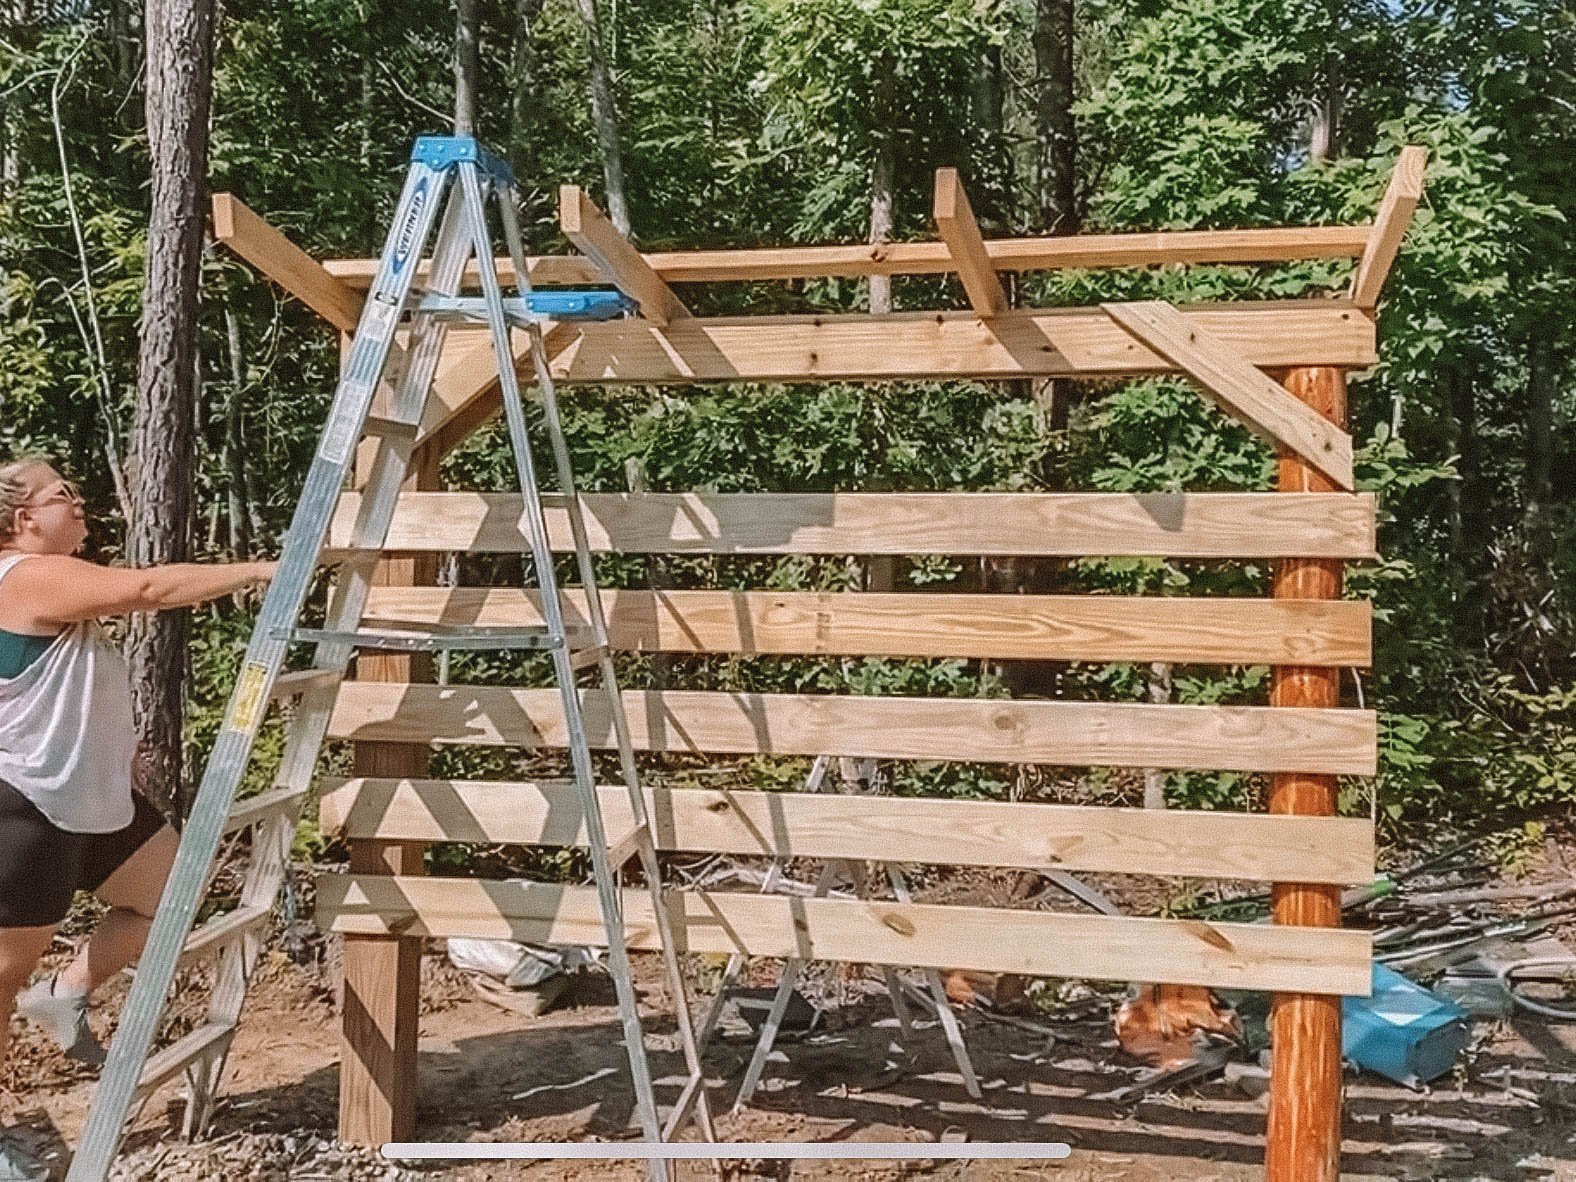
We only did 4 rafters as the whole awning is just about 8 ft. long. So we put one rafter 2 ft. on center a.k.a. one rafter every two feet. I cut a notch out of each rafter so it sort of hooks onto the top beam. Since this is the only connection location, we decided to use some rafter ties for extra support. We also ended up putting some diagonal pieces connecting the poles to the outside rafters. This creates support for the whole structure and helps prevent forwards and backwards movement. It also secures the rafters even a little bit more.
On top of the rafters we put three purlins. These are just treated 2x4s and they are evenly spaced apart. There is one on the edge of the front, one on the edge of the back, and one in the middle. This is what the roof will be attached to. And yet, another step that makes the tool awning rigid.

In order to have a place to actually hang our tools on, we created a sort of wall with spaced our deck boards. This created even more stability in the structure but also gives us a surface to attach tools to. We definitely want there to be ample air flow, which is why we didn’t just put up a solid wall of out something like plywood.
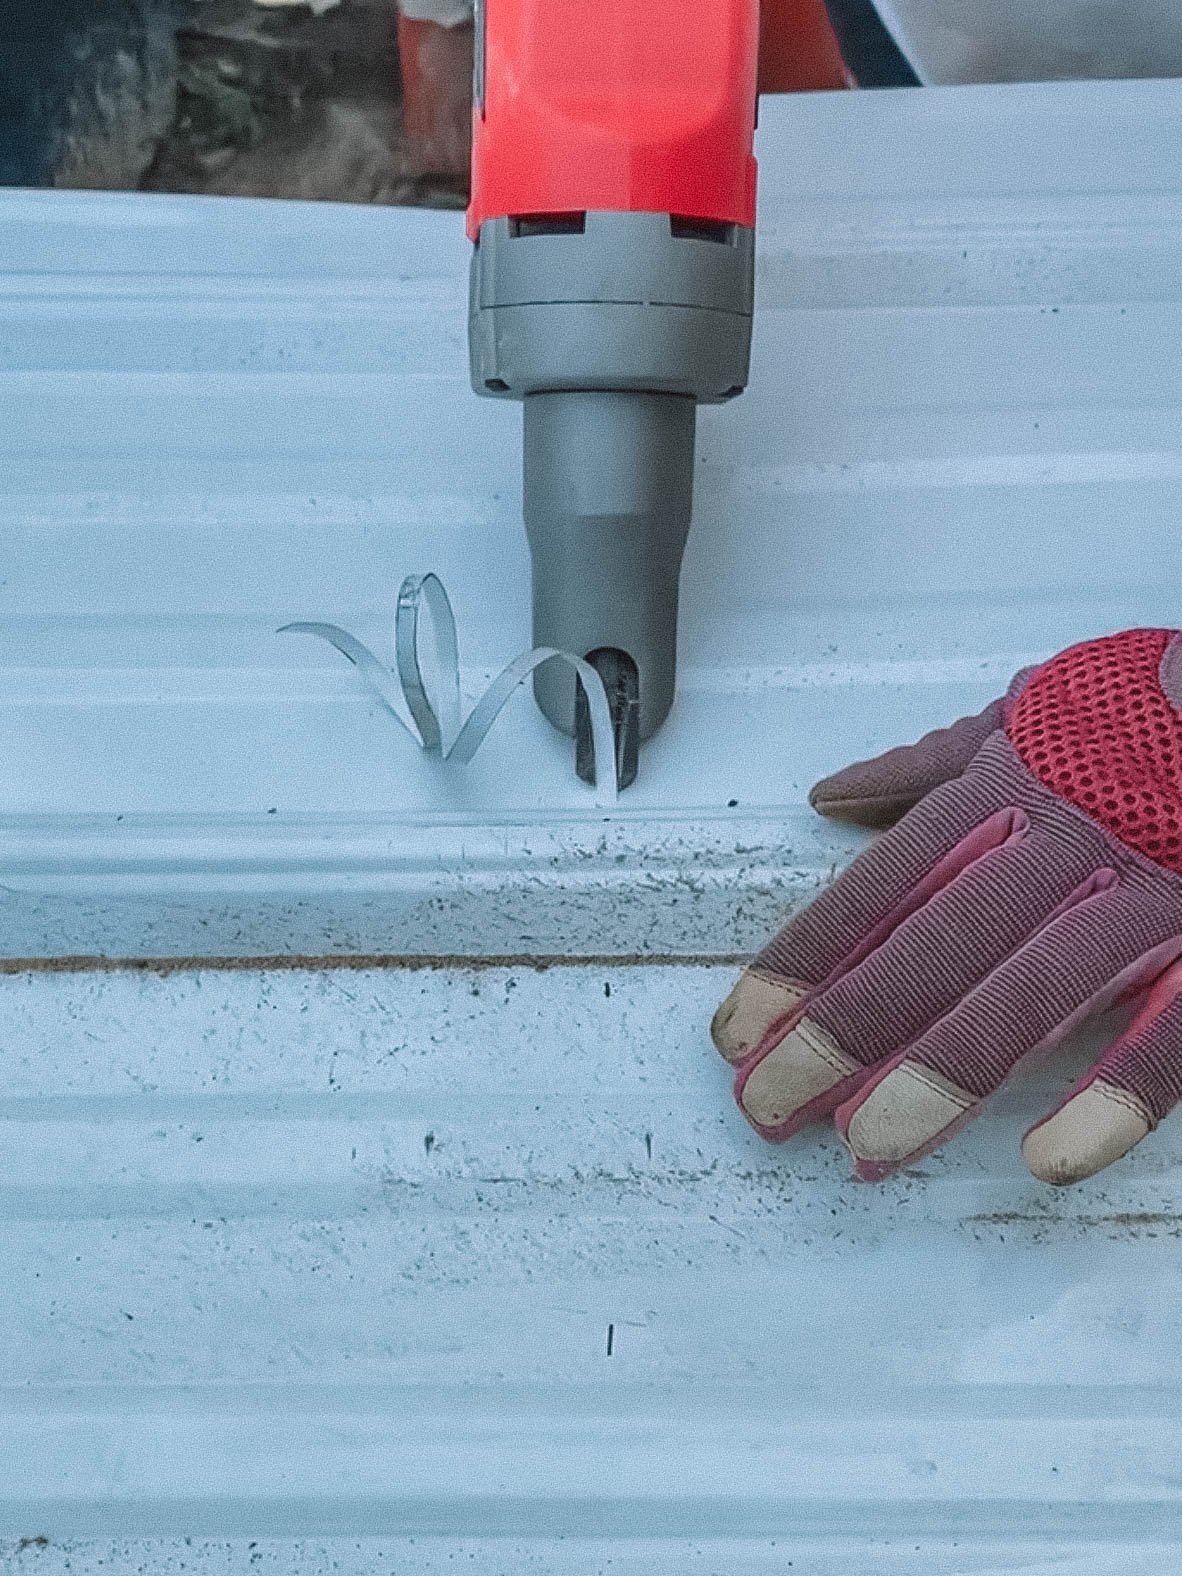
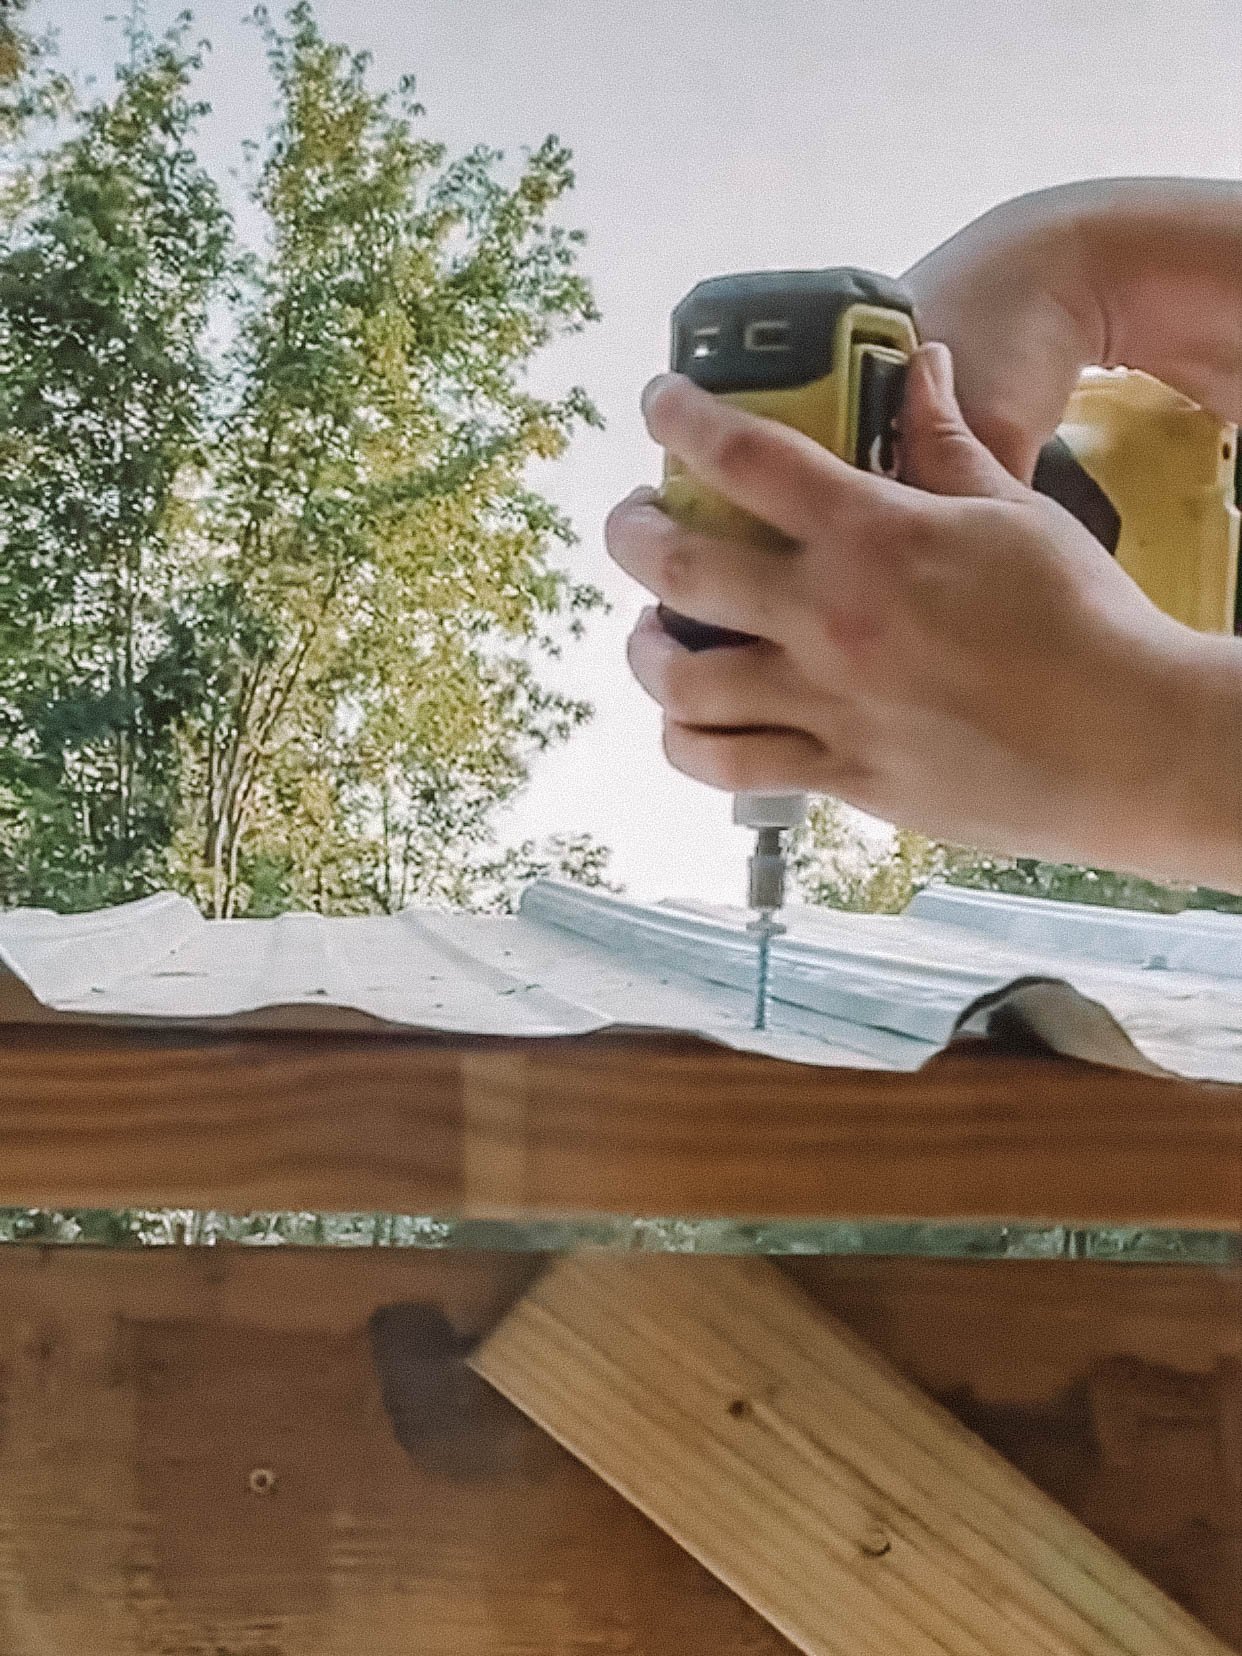
Our roofing metal is something we picked up at the dump. Someone had thrown away a bunch of it and we decided we could find something to do with it. On a homestead you always need roofing metal for one thing or another! We ended up being about to do two different projects with that metal. We cut the panels to 4’ with our handy dandy electric metal shears which are a game changer. If you have to cut roofing metal more than once, you’ll be glad you had these shears. We used roofing screws to attach the roofing to the purlins.
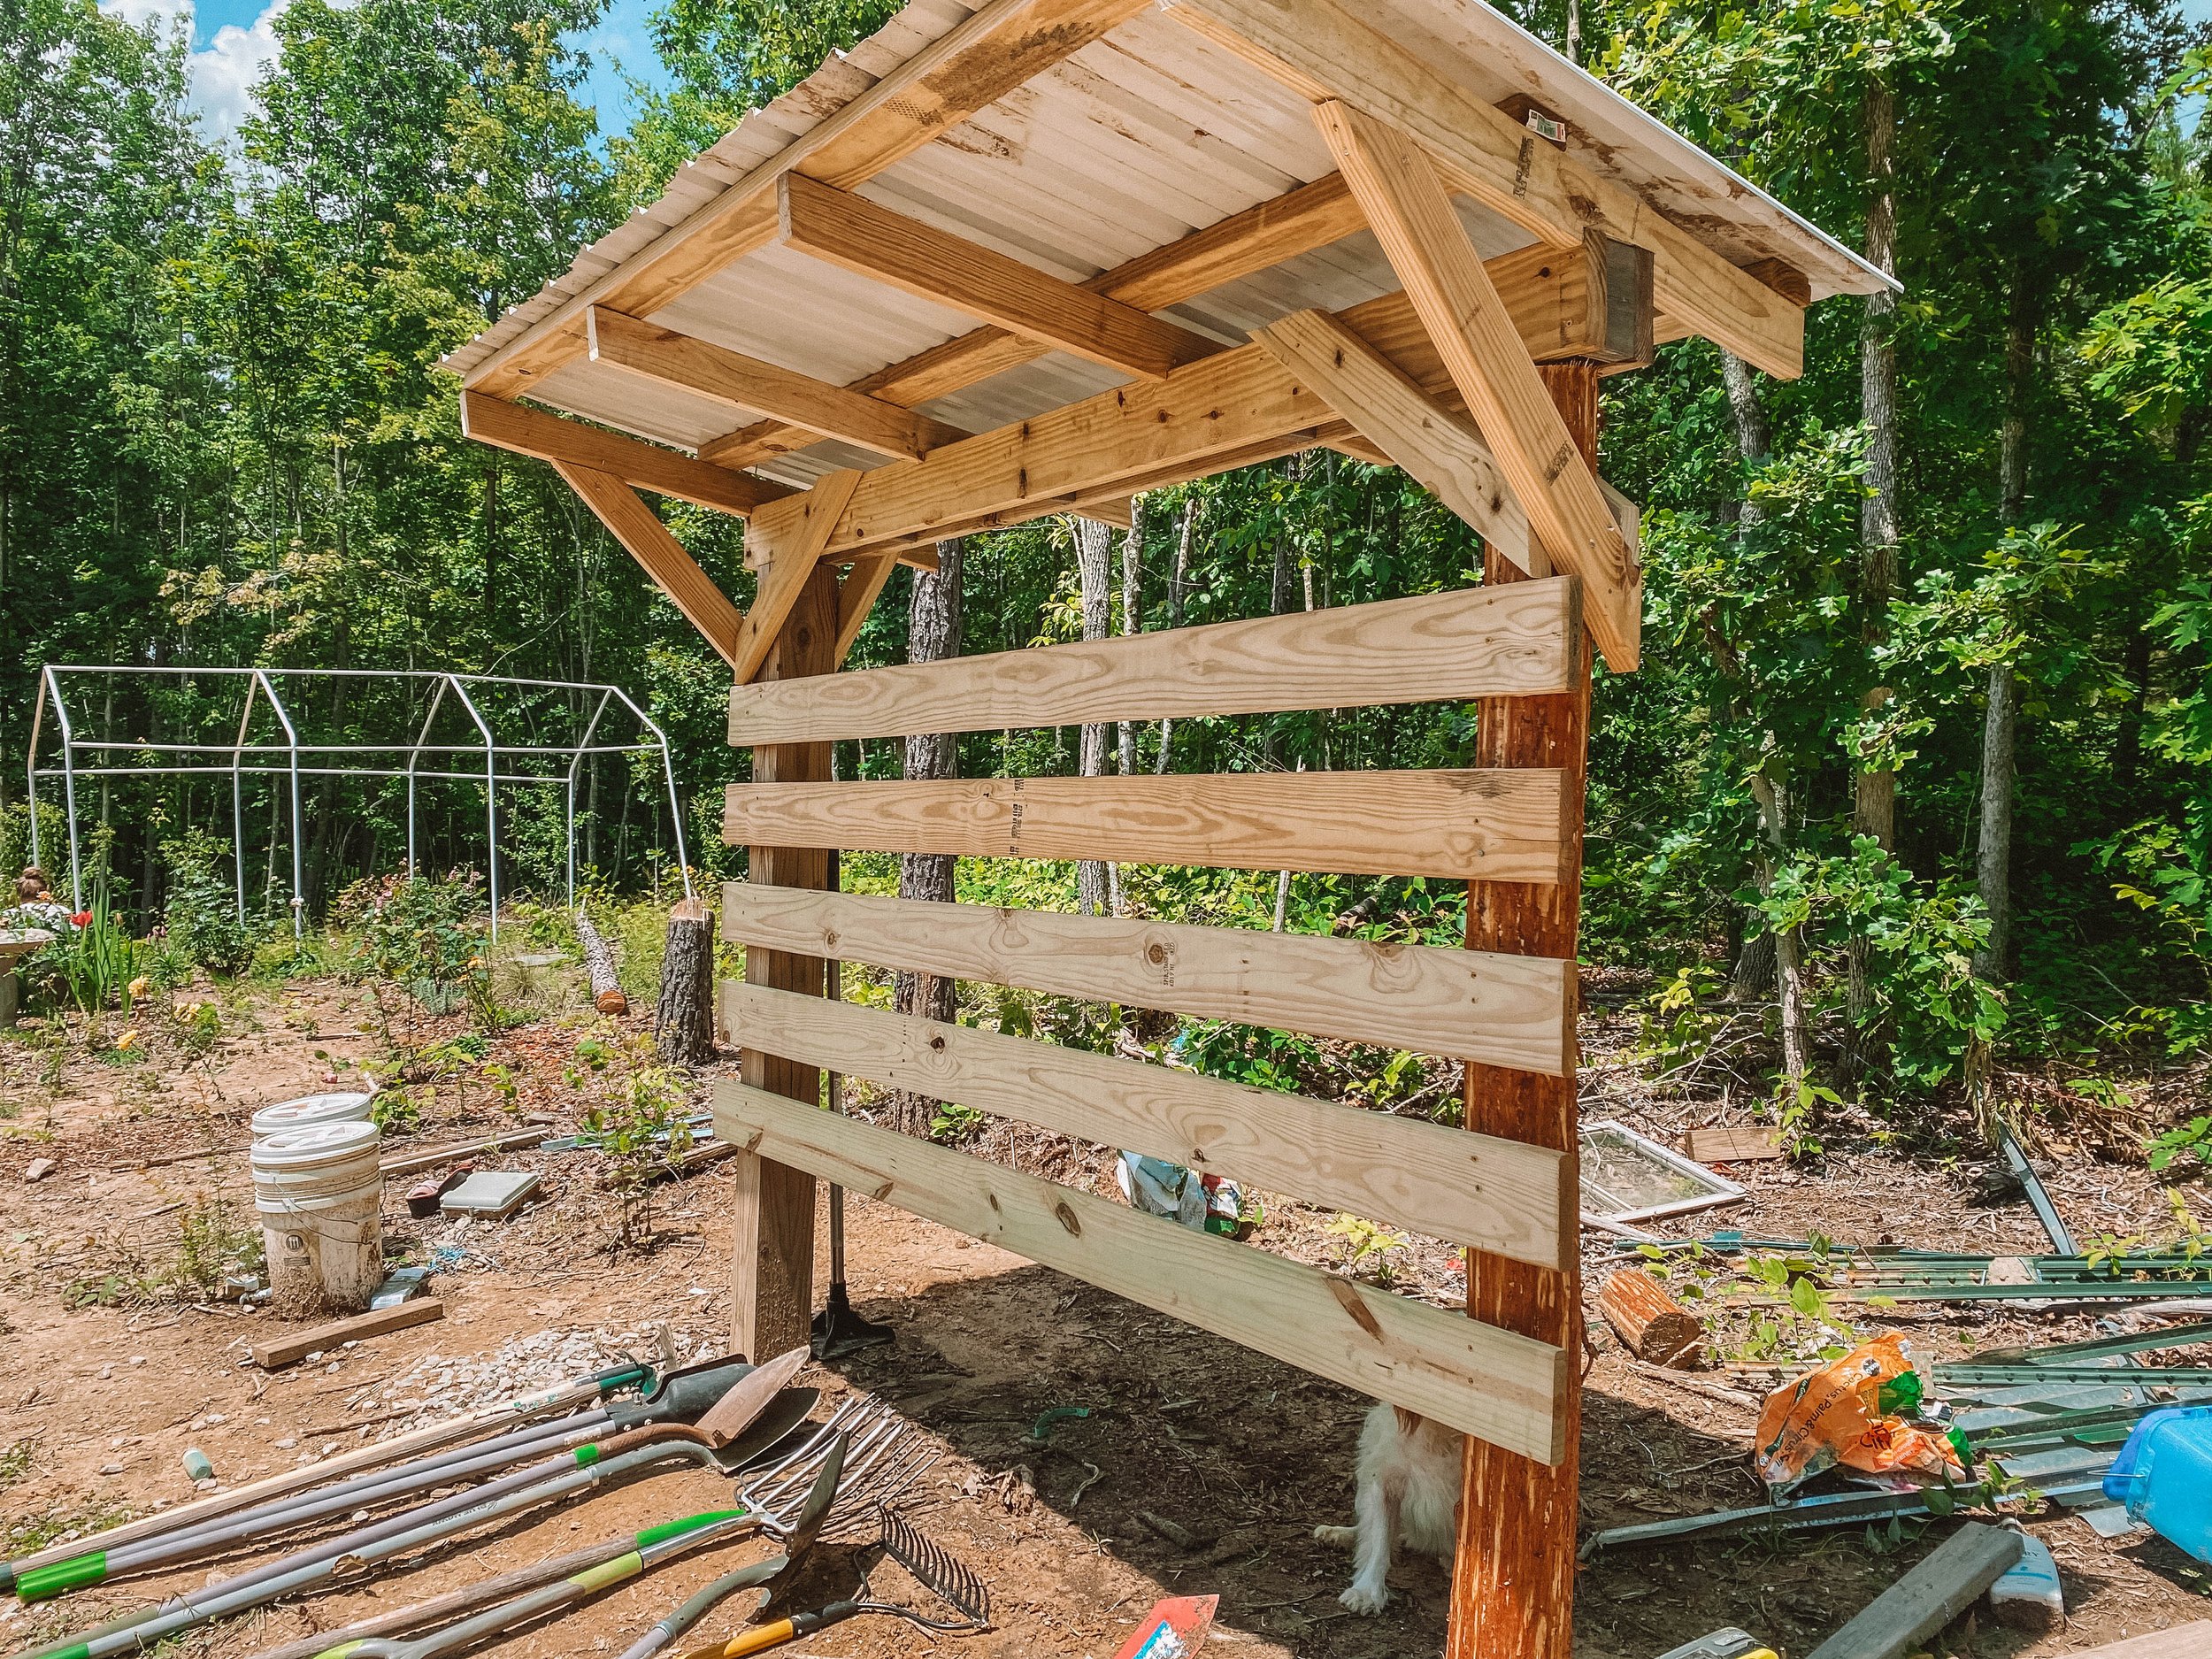
From down here you can really see each layer that we’ve talked about. It’s really a solid structure even though it’s small and simple.
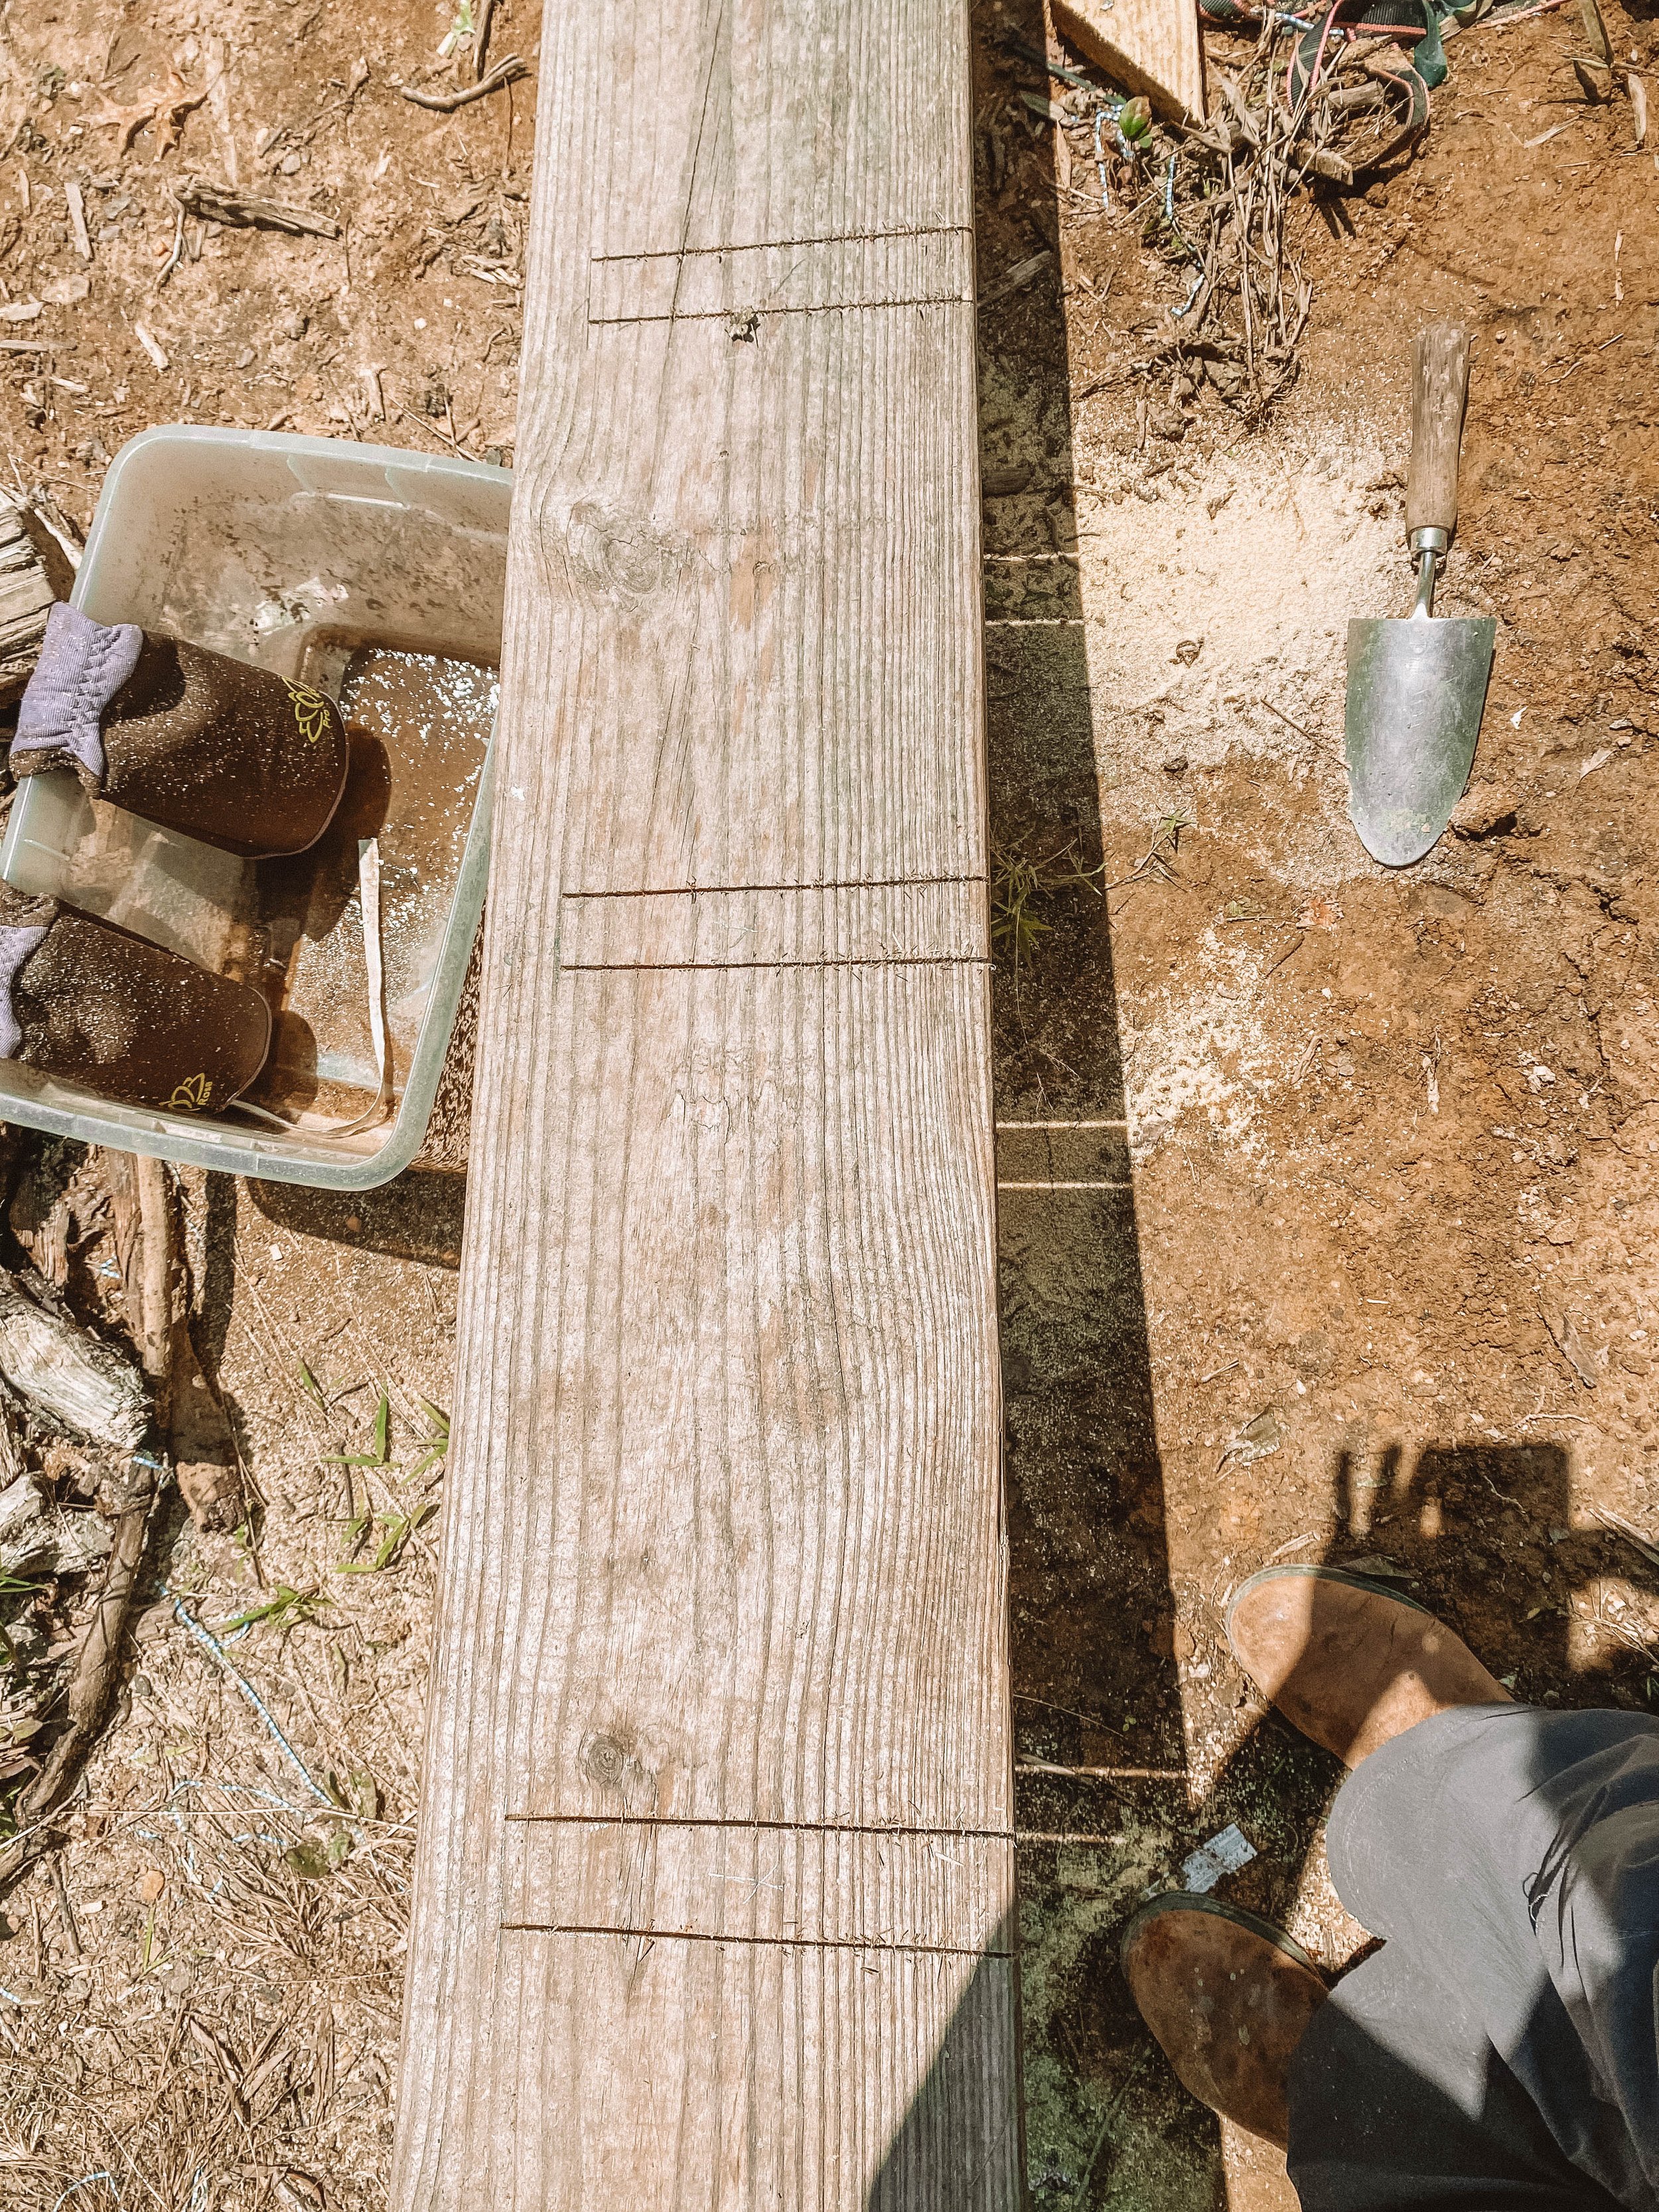
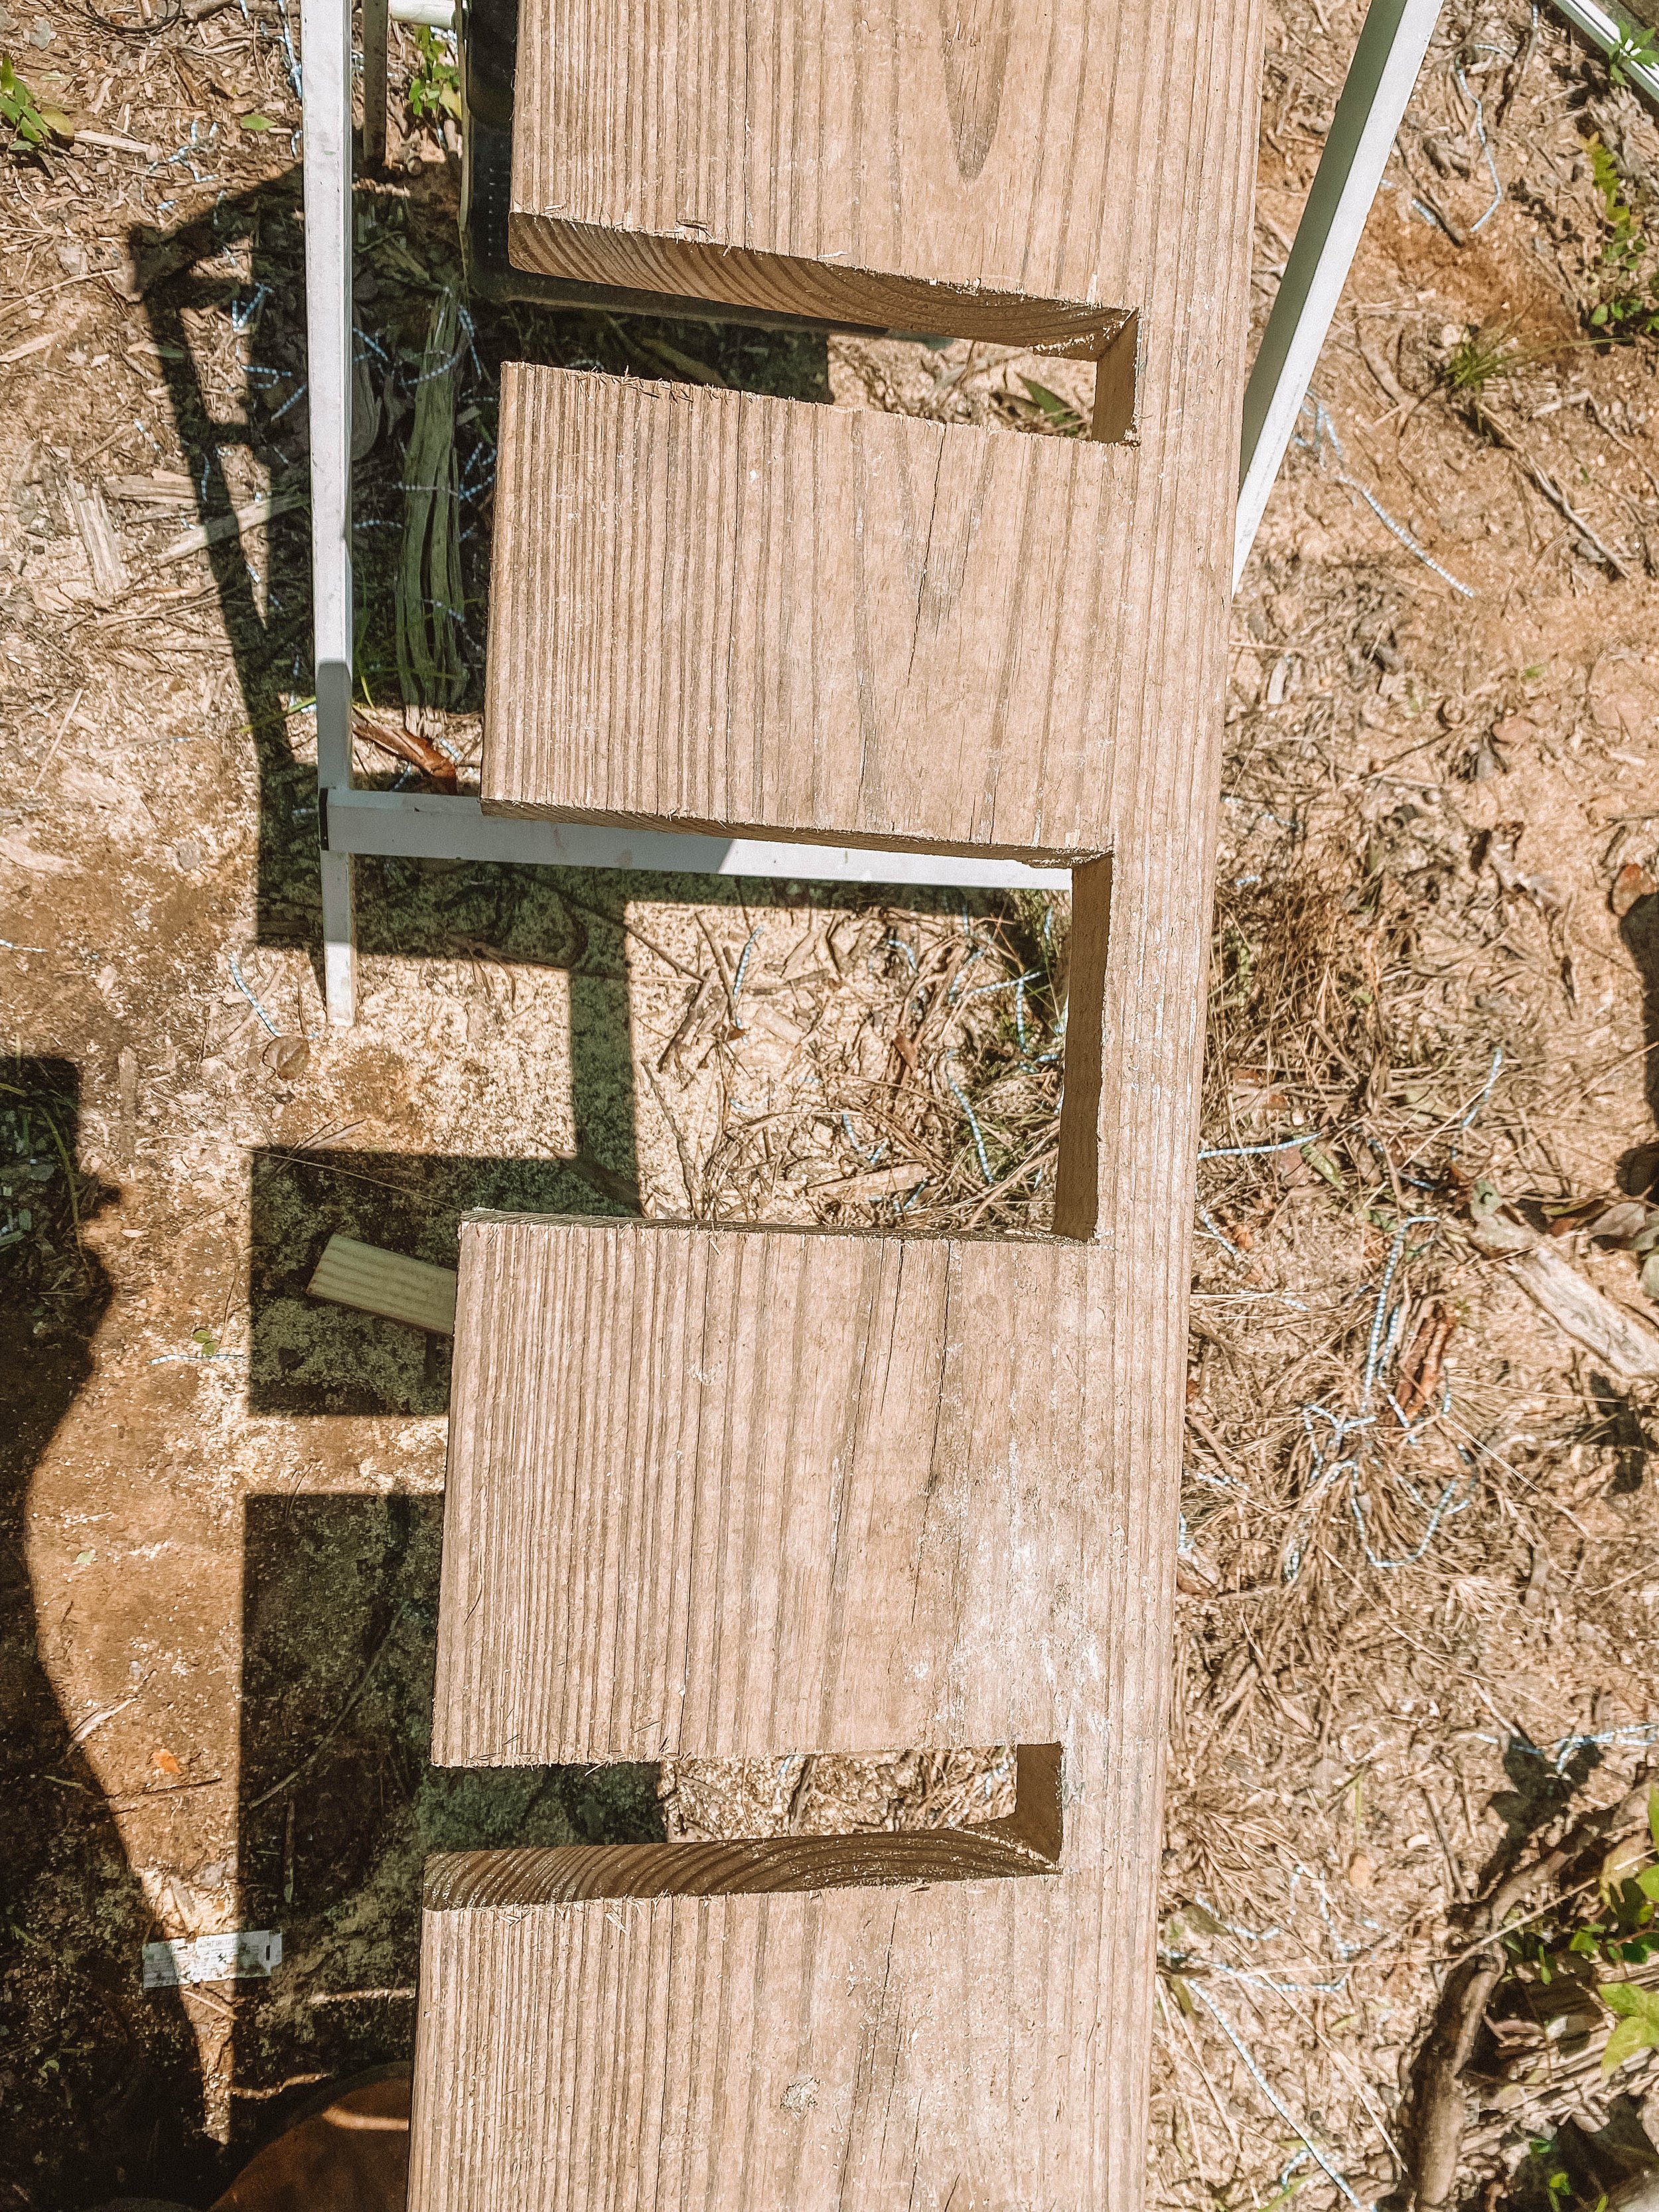
In order to have a place to hang tools, I decided to install a shelf that had big notches cut out with tools to slide into. We had brought this 2x10 with us from our old house (it was a shelf there) and it’s just been floating around the land ever since. Very happy to put it to good use!
We gathered all of our tools and I actually used each tool to create the exact spacing we would need. I doubled up on like-sized items like multiple shovels. I did the same thing for small hand tools and then used some utility hooks for the random things left over.

To install the shelf, I used 4 large triangle pieces of wood that I cut out of the 2x8. There are a few spaces where I could double up storage if we get any new tools, which we have done since this picture.

On the back side we have t-posts and temporary fence posts leaning in their own little spot. There’s plenty of space back here to expand storage if needed. Obviously the back side is a little disheveled but it does the job and gives us a place for t-posts and things that otherwise would just hang out around the land.

This is a highly used part of our homestead and now we know where the tools! Before have this tool shed we could never find our garden tools. Also, we plan on collecting rainwater off the roof one day.
You can watch a detailed video of us building this below. Let us know if you build something like this and how it goes!